
Creating New Shift Patterns
Creating New Shift Patterns
New ‘Shift Pattern’ records can be created in the system using the following steps:
Step 1 - Select the ‘Pattern Management’ tab.
Step 2 – Click the orange plus button in the bottom left hand corner the select 'Create'.

HANDY HINT: When selecting the location of the ‘Shift Pattern’, ensure you select the location at which the pattern is relevant within the hierarchy. For example, if this pattern could be worked by all staff in the business, you should assign the top-level location, so it appears for use for all users to amend, and as an option to assign to any staff within the business. Alternatively, if this pattern would only be worked by staff in a particular department and also any staff within an area of that department, you should choose the department as its location, in order that it can be applied to staff on the rota within that department or any staff within an area owned by that department.
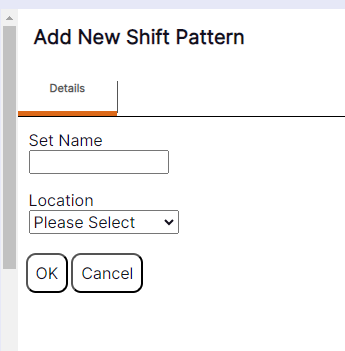
The new ‘Add New Shift Pattern’ record will display as per the example below:
Step 3 – Update the details by using the drop-down menus and typing in new data.
Step 4 – Select ‘OK’ to create the new shift pattern.
‘Shift Pattern’ Creation Guidance
Set Name: Enter the name of the ‘Shift Pattern’ as you would like it to display in the ‘Admin’ screen on the ‘Shift Pattern’ management tab, and within ‘Pattern Groups’ as an option to assign to a group of staff members.
Location: The location this ‘Shift Pattern’ should be available in. Only staff with access to this ‘Location’ or ‘Locations’ below it will be able to use it.
Following selecting ‘OK’ the pop up will slide to the right and the user will be returned to the ‘Operational Area’ in the ‘Admin’ screen.