
Adding ad-hoc shifts to the rota
In this section, we will look at creating a rota using ad-hoc shifts.
If you would like to create and use shift templates, please visit 'Adding a shift to the rota using a shift template (Shift Times)'.
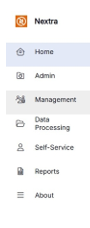
Step 1 - From the Home menu select 'Management'.
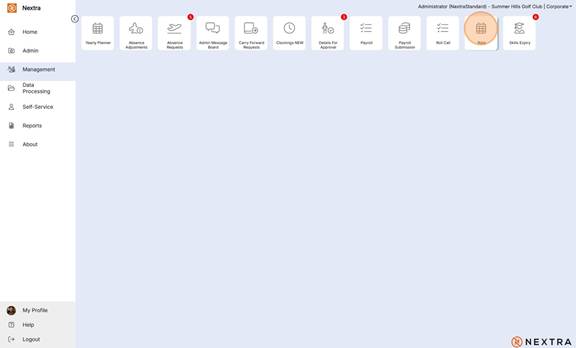
Step 2 - From the management section select the 'Rota' tile.
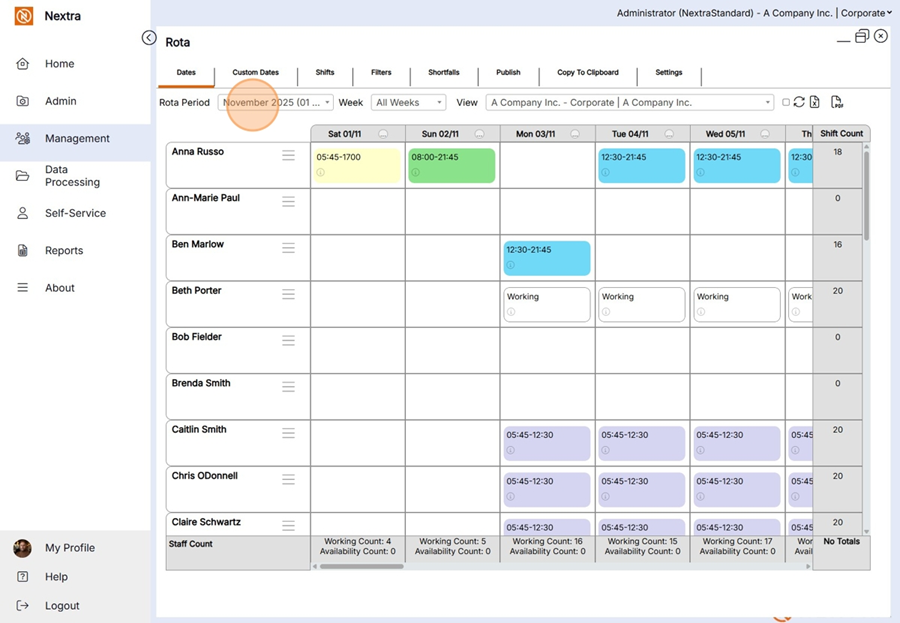
Step 3 - Select the date range you would like to add shifts to from the Rota Period menu. (If no Rota Period exists for the relevant dates, you can use the Custom Dates tab instead)
Step 4 - Select the location you would like to add the shifts to from the View menu.
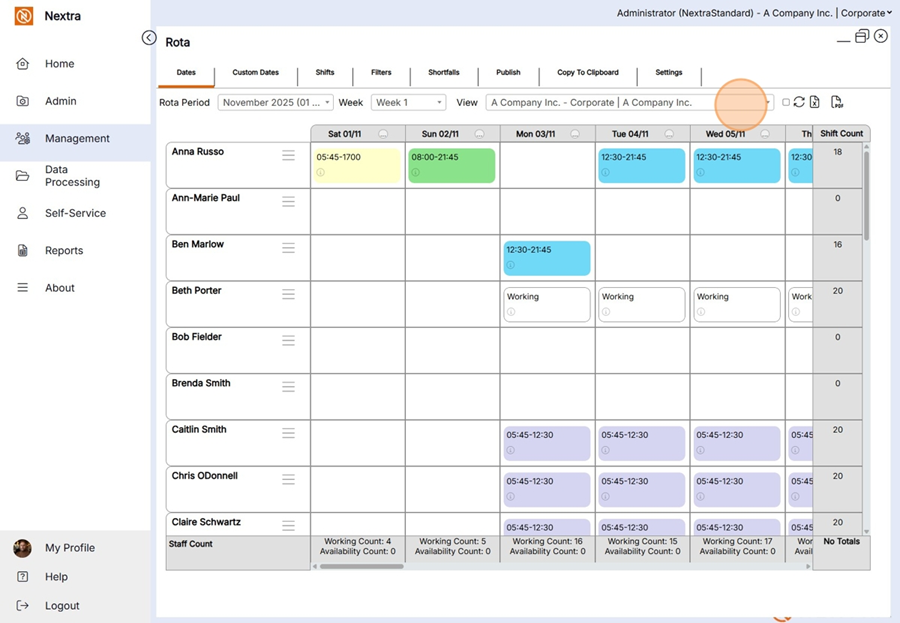
Handy Hint: Selecting the 'Include sub-location' tick box next to the View menu will also include team members at locations below the selected location.
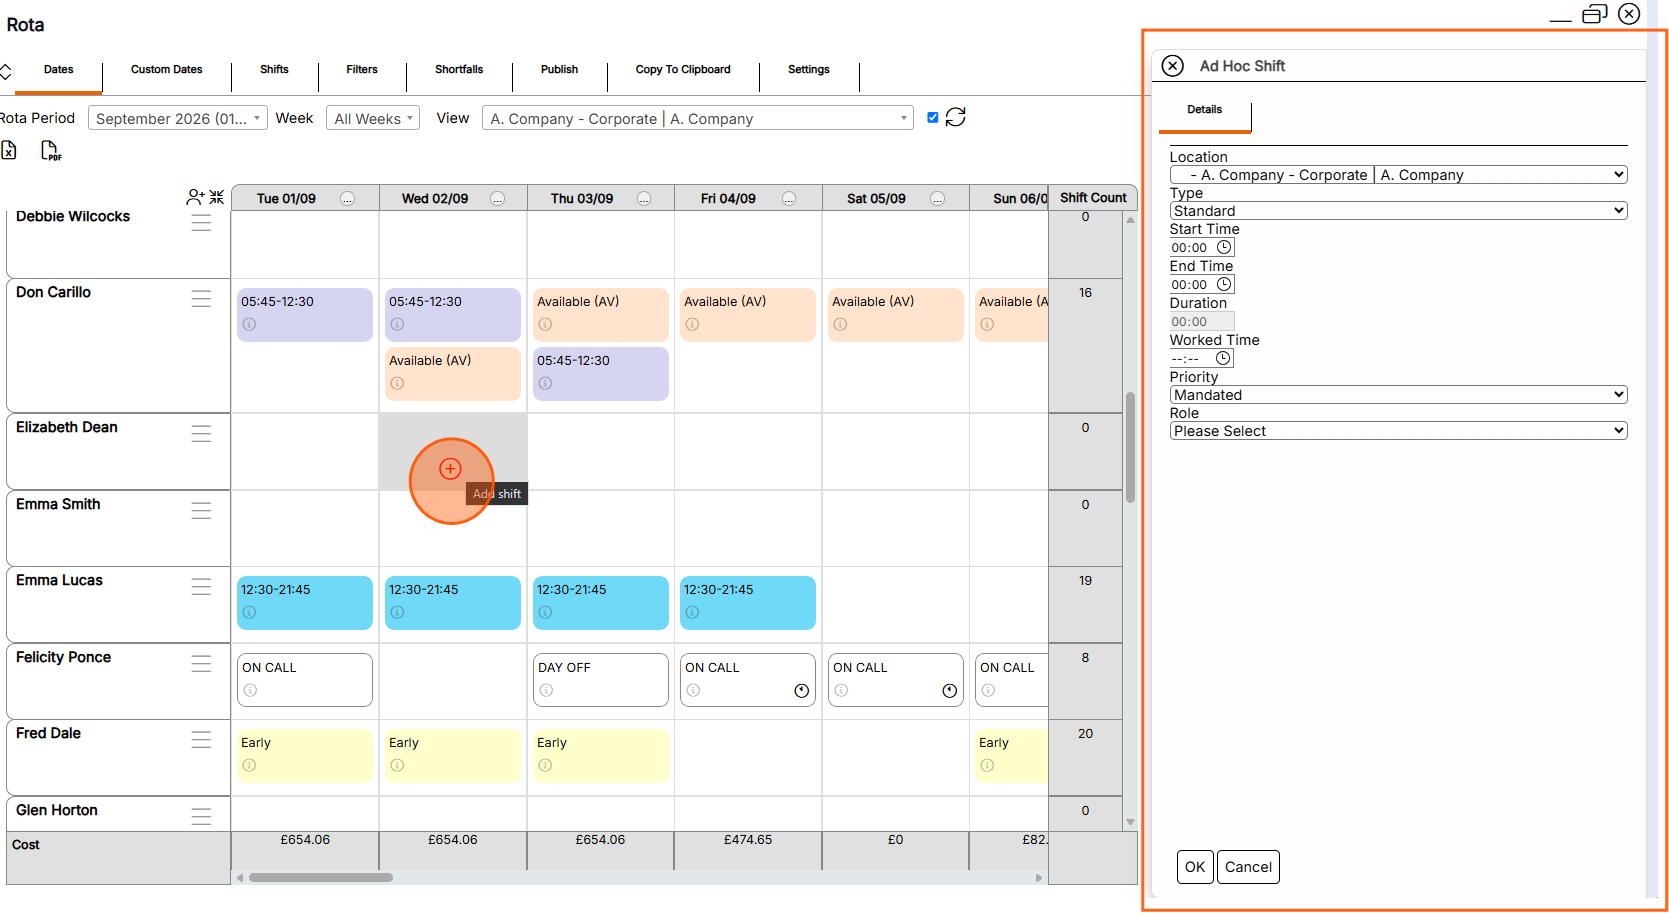
Step 5 - Select the + (plus) icon for a team member and date you would like to add an ad-hoc shift to. The Ad-Hoc Shift side panel will open
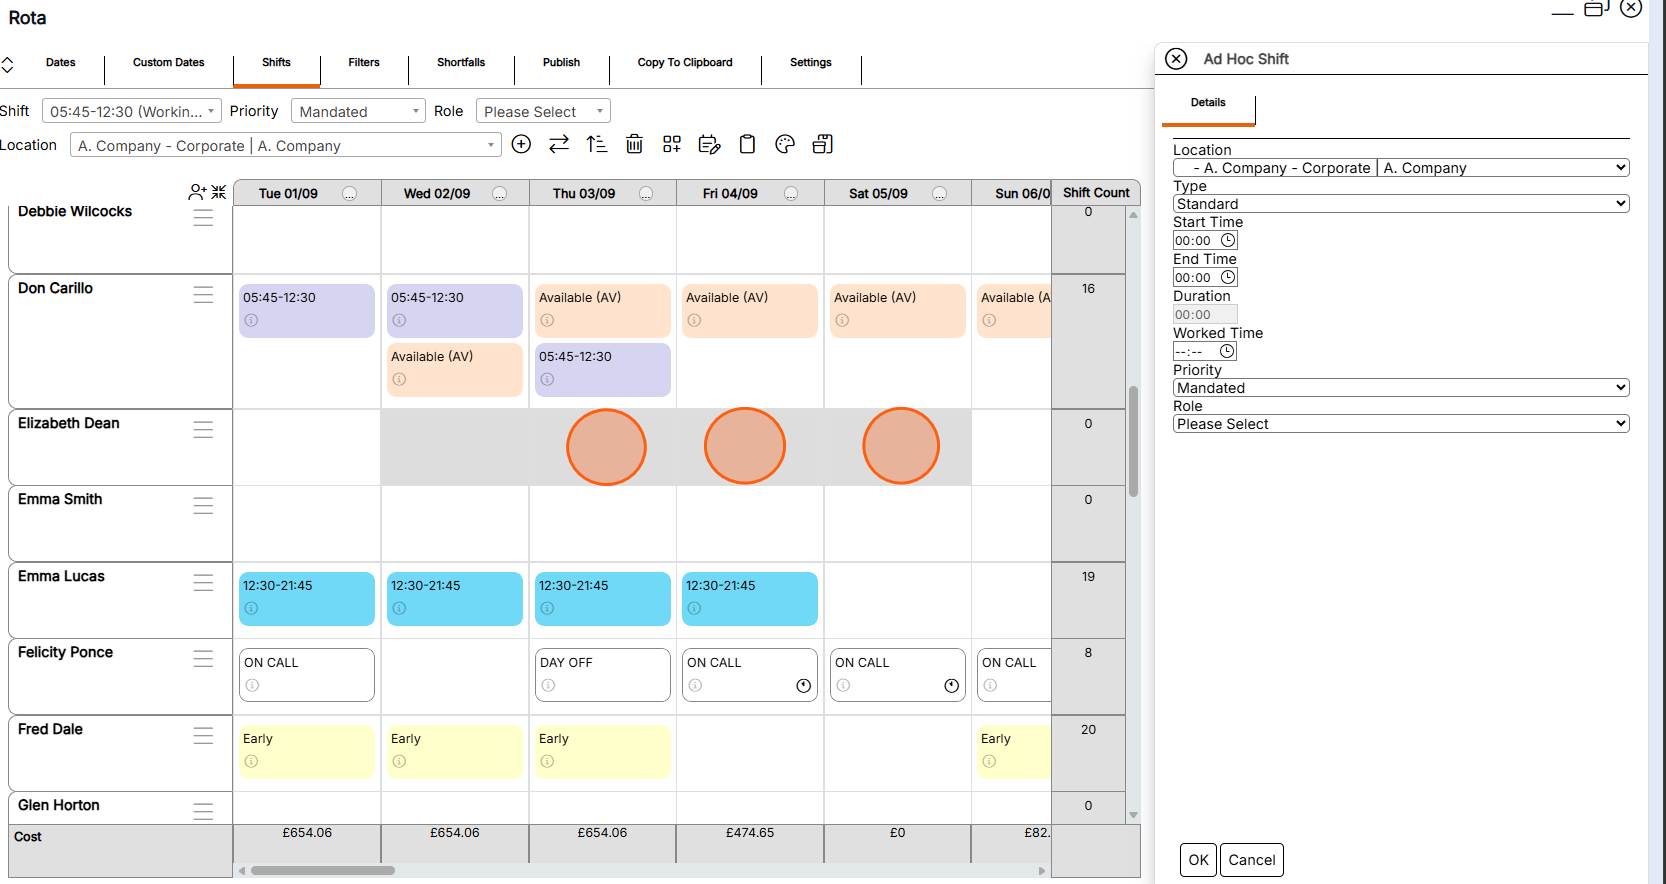
Step 6 - Select any other team member / dates you would like to add the ad-hoc shift to at the same time
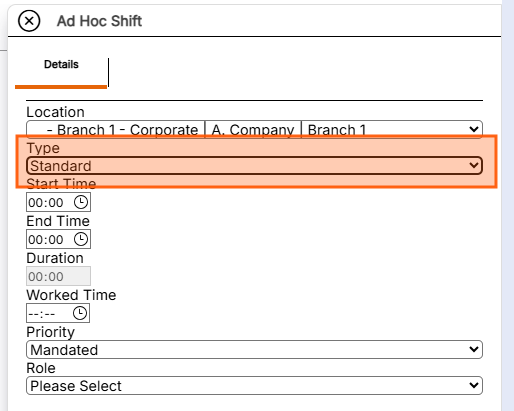
Step 7 - Select the location you would like to add the shifts to
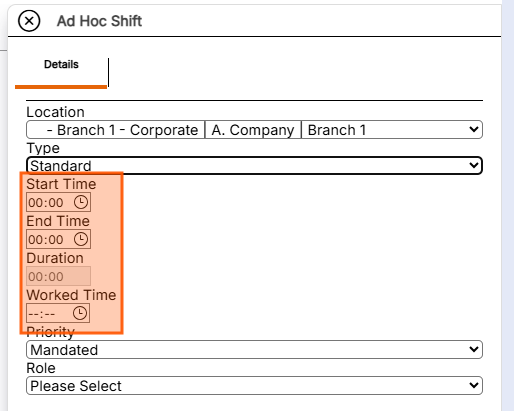
Step 8 - Enter the required shift start and end times, and worked duration.
Step 9 - If the shift(s) requires a specific role, select this here.
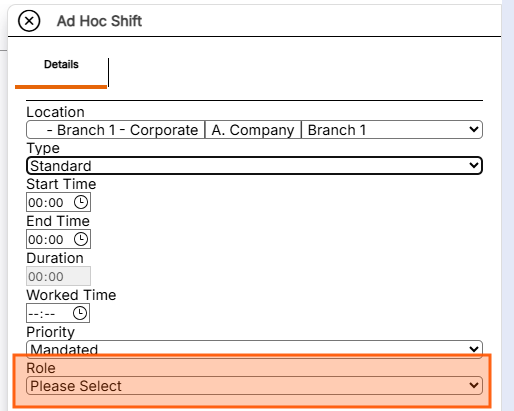
NB. For normal working shifts the Priority should be Mandated
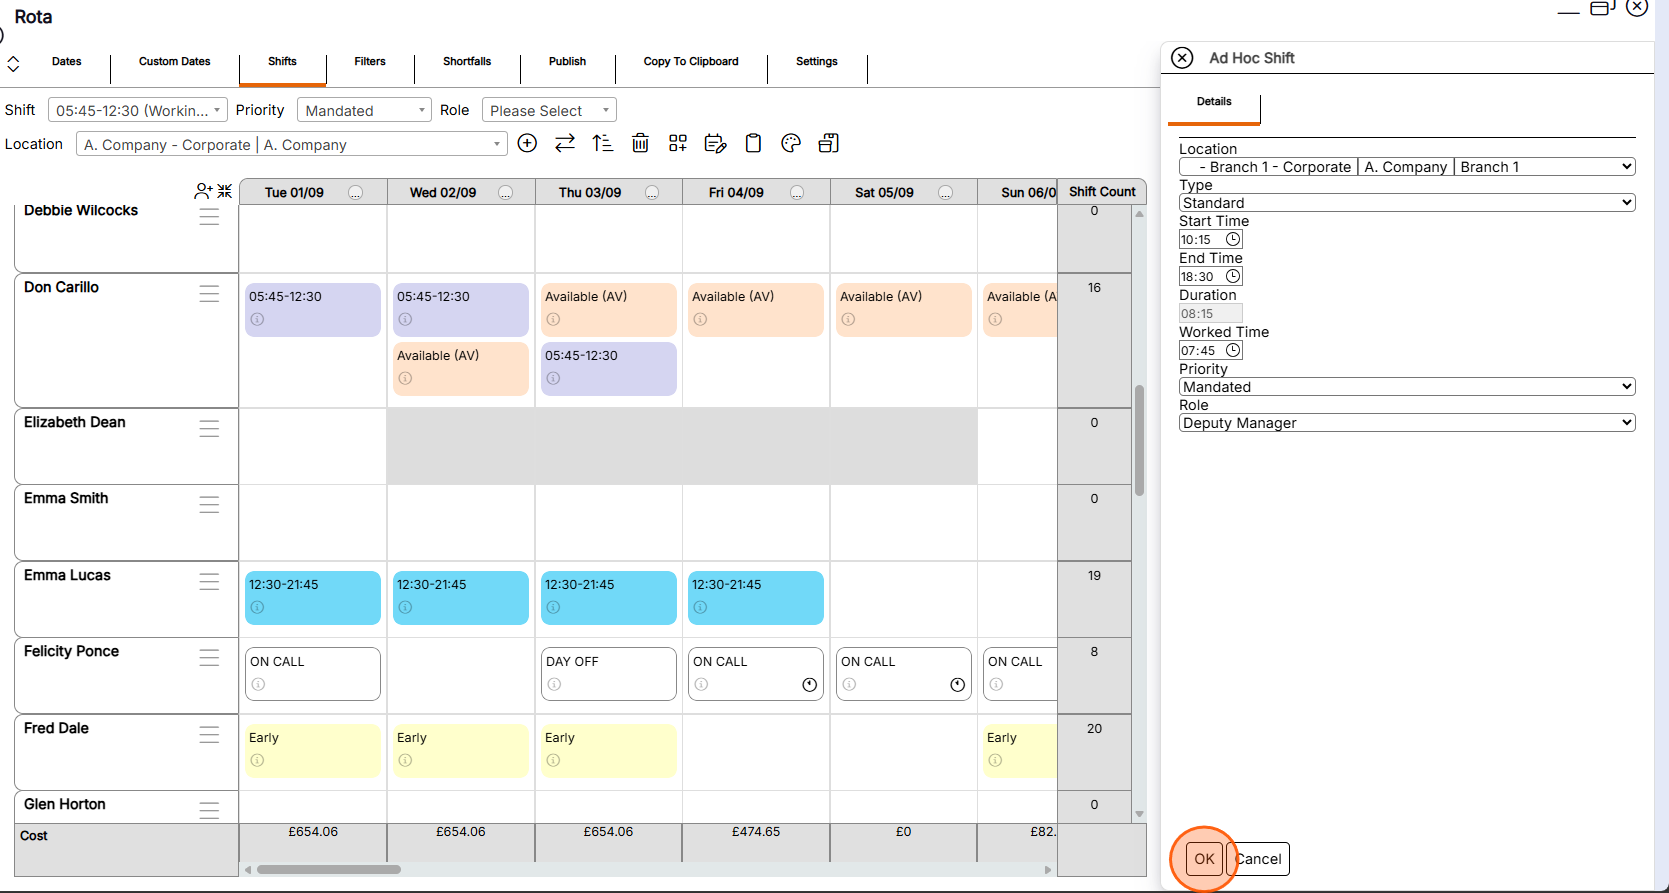
Step 10 - Select OK to add the shifts to the selected team members /dates
The shifts will be added to the rota.
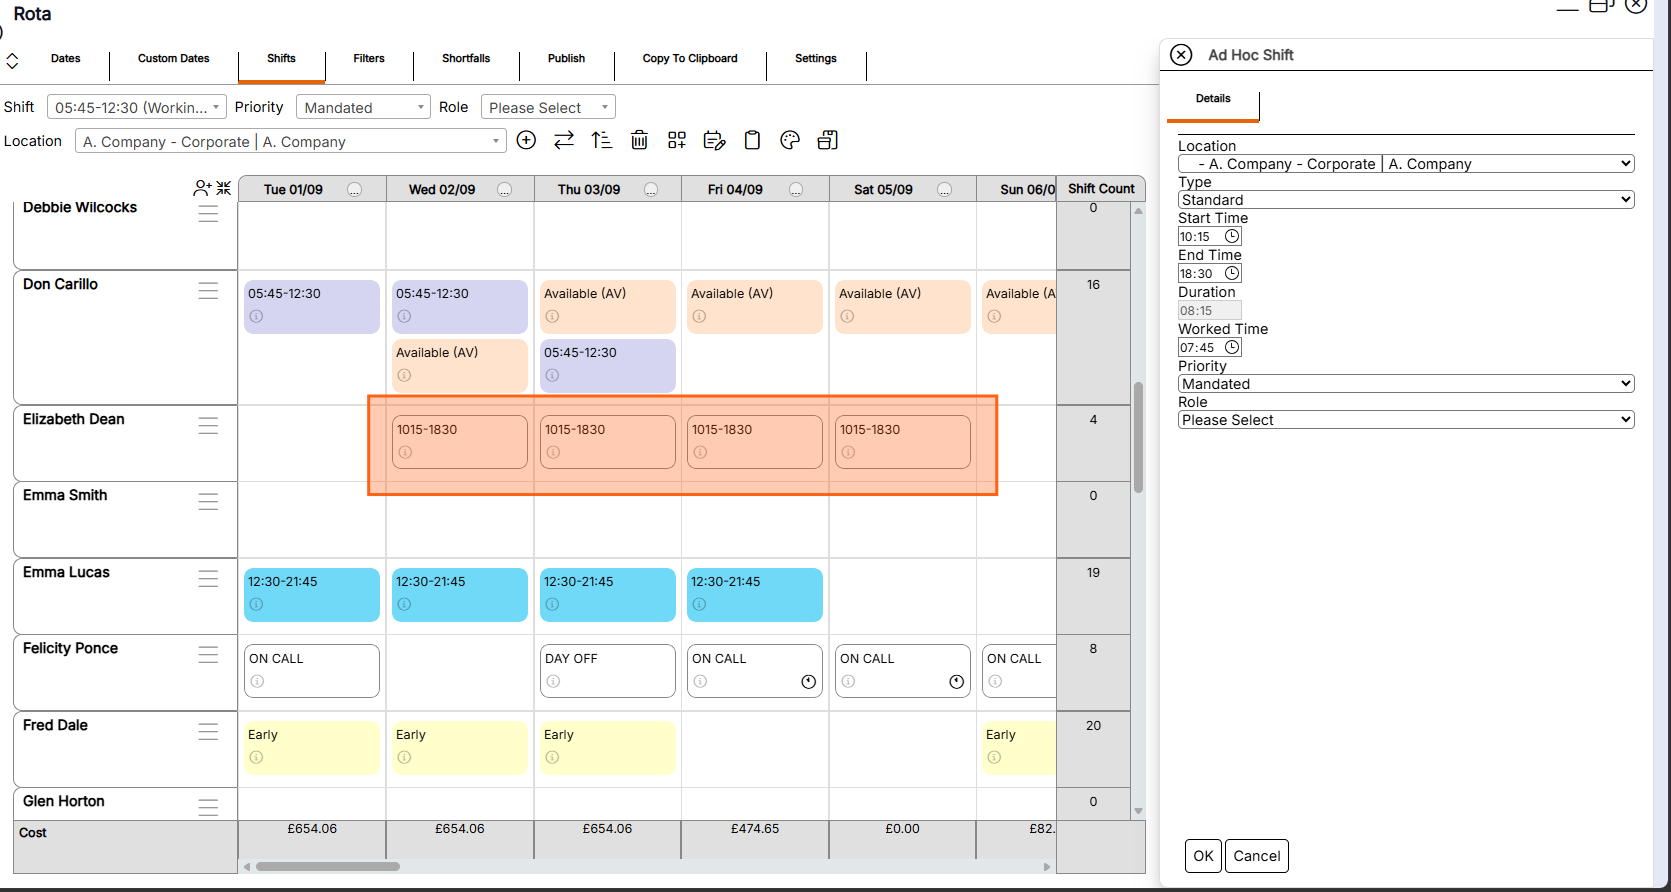
Handy Hint: The add Ad-Hoc Shift side panel will remain open so you can select further team member / dates and continue adding ad-hoc shifts if required.