
Viewing the rota
This section will describe how you can view and navigate the rota.
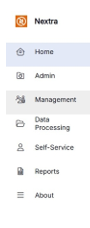
Step 1 - From the Home menu select 'Management'.
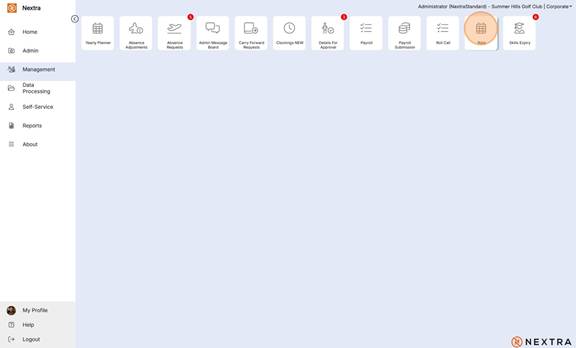
Step 2 - From the management section select the 'Rota' tile.
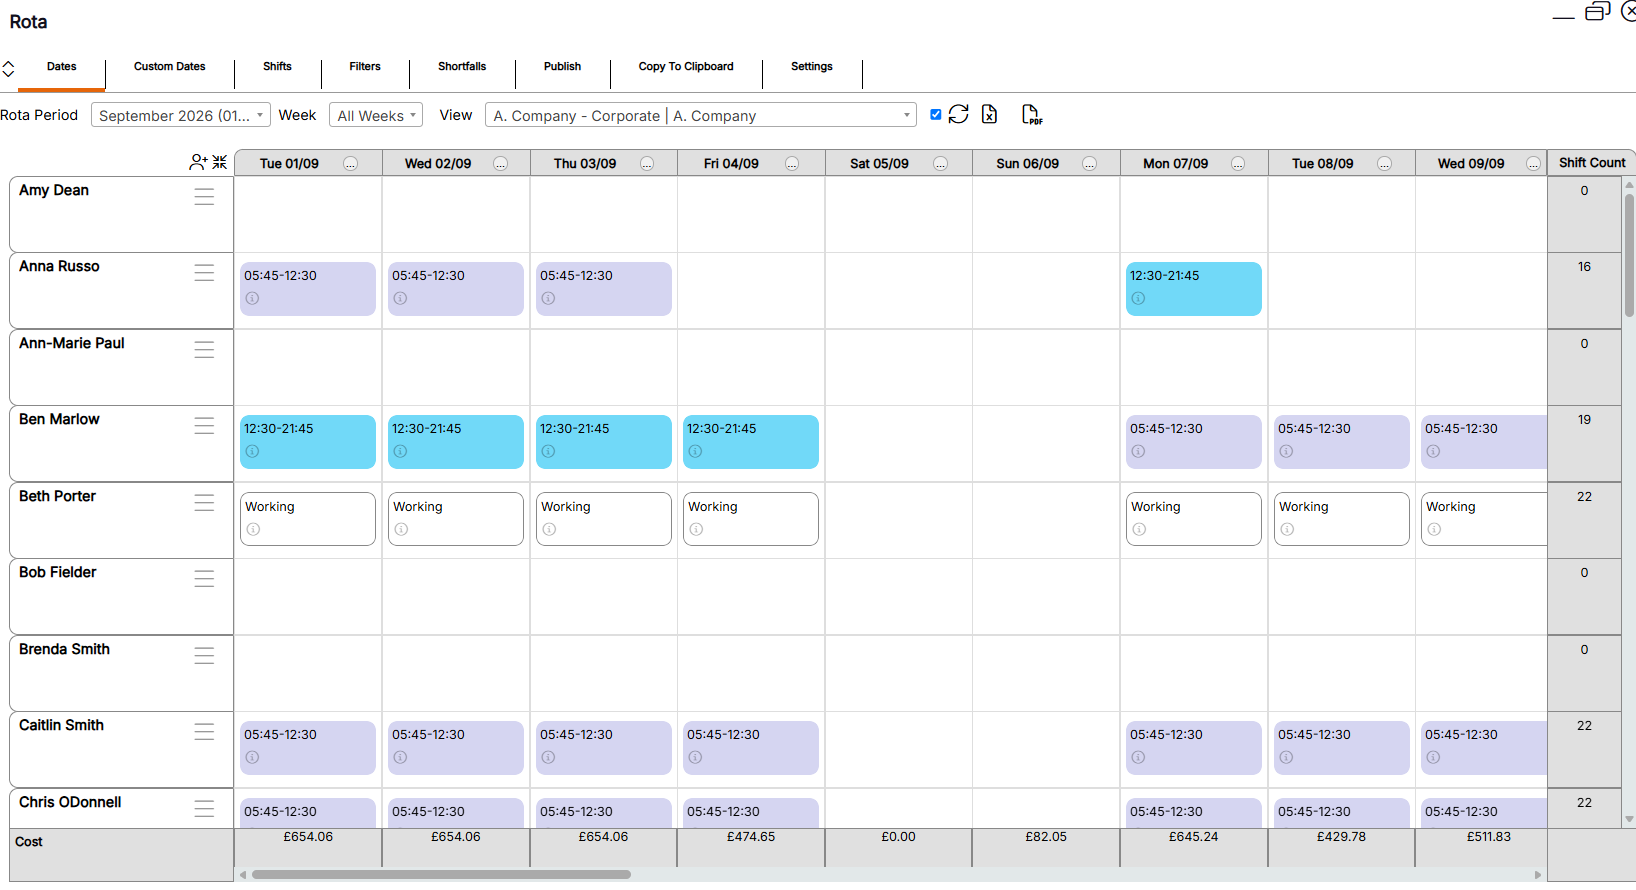
Step 3 - Select the date range you would like to add shifts to from the Rota Period menu. (If no Rota Period exists for the relevant dates, you can use the Custom Dates tab instead)

Step 4 - Select the location you would like to add the shifts to from the View menu.

Handy Hint: Selecting the 'Include sub-location' tick box next to the View menu will also include team members at locations below the selected location.

Step 5 - Select the 'Refresh' icon

The rota will load for the location and dates selected.
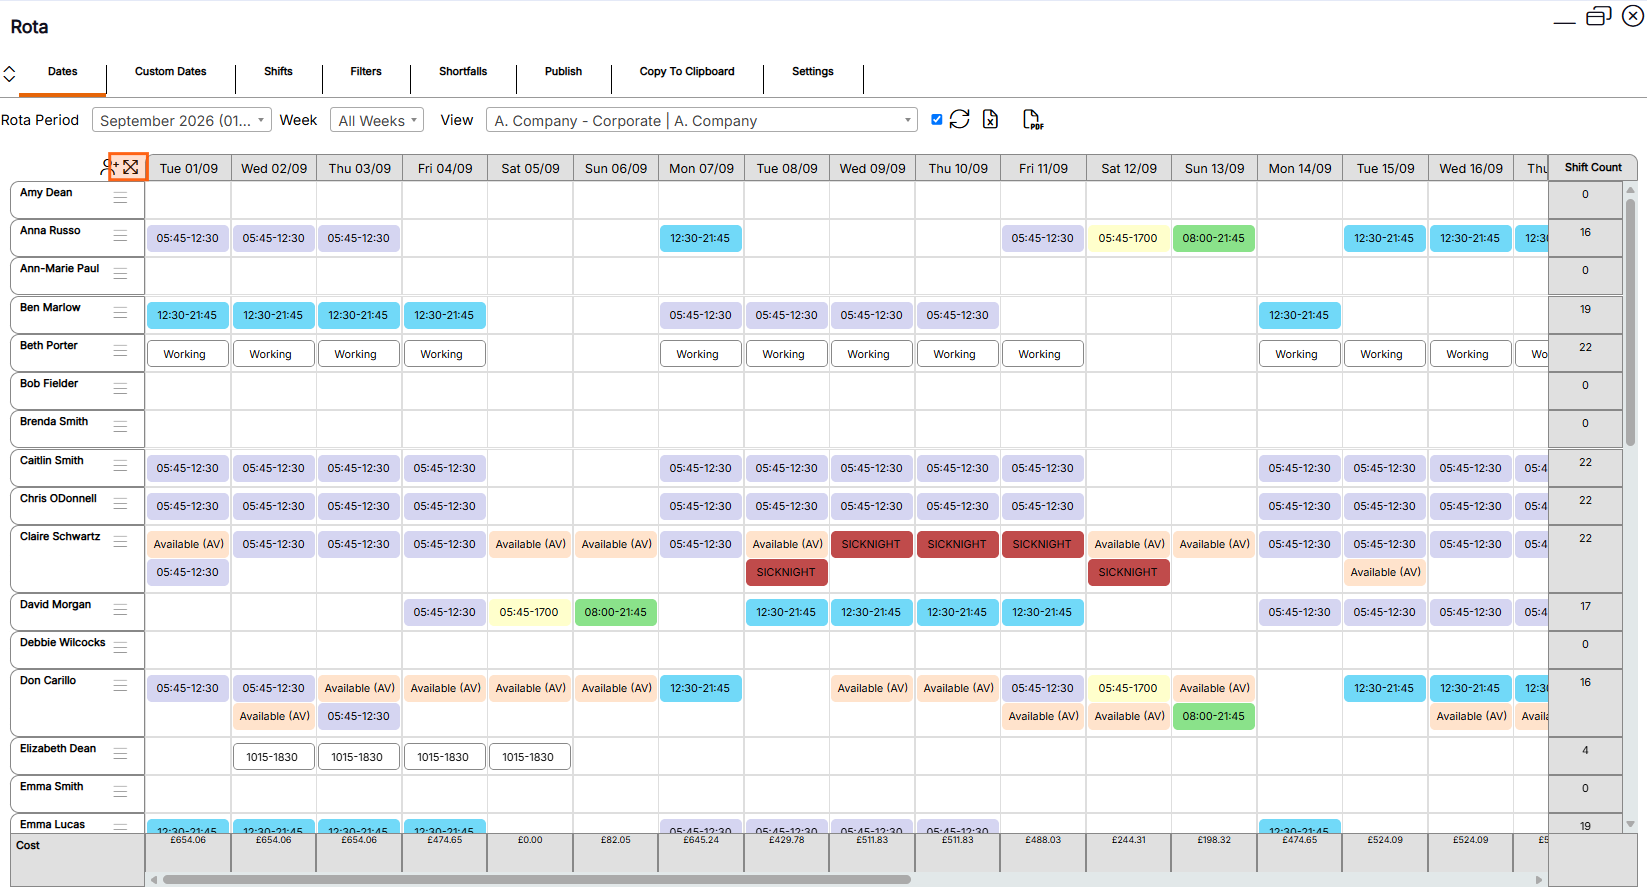
Minimised view
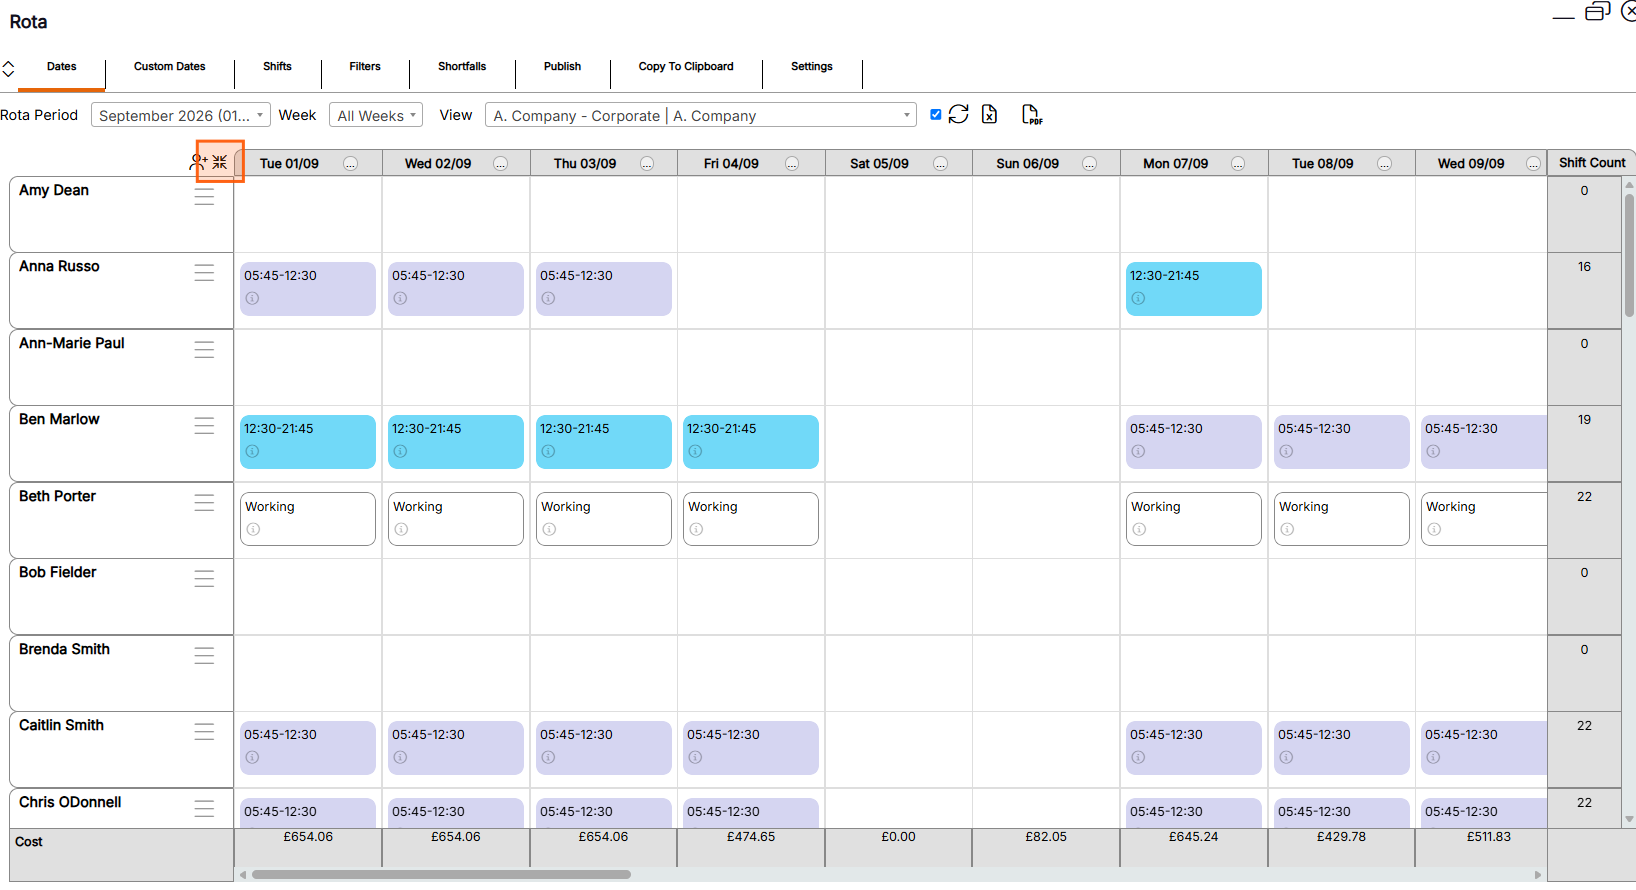
You can use the reduce and expand icons to switch between a minimised and maximised view. The minimised view will allow you to view more team members and dates on one screen, this is often useful if you are using a smaller screen, laptop or tablet.
Display Settings
You can amend you individual display settings to display the rota with the most relevant details to you as a user, these settings are remembered by the system when you log out.
Step 1 - Select the Settings tab

Step 2 - Select 'Display Options'

Step 3 - Select the required view options from the More Options pop-up
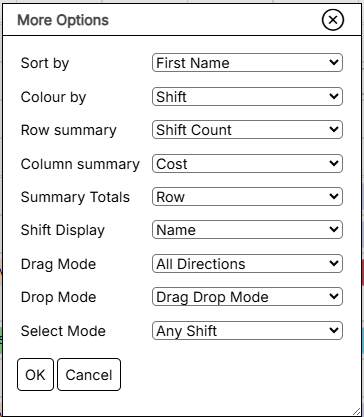
Step 4 - Select OK. The rota will reload with the selected view options