
Updating an existing record on the Contract tab of the staff member record
Please note: NEXTRA recommends that should a user need to make any change to a staff member record, as this can be particularly important for payroll purposes and paying staff correctly as of a defined effective date in the software, and to ensure that an accurate audit history is held of changes made to your staff member records. Records should only be edited if a mistake has been made when initially creating it. In order to edit an existing record, follow these steps:
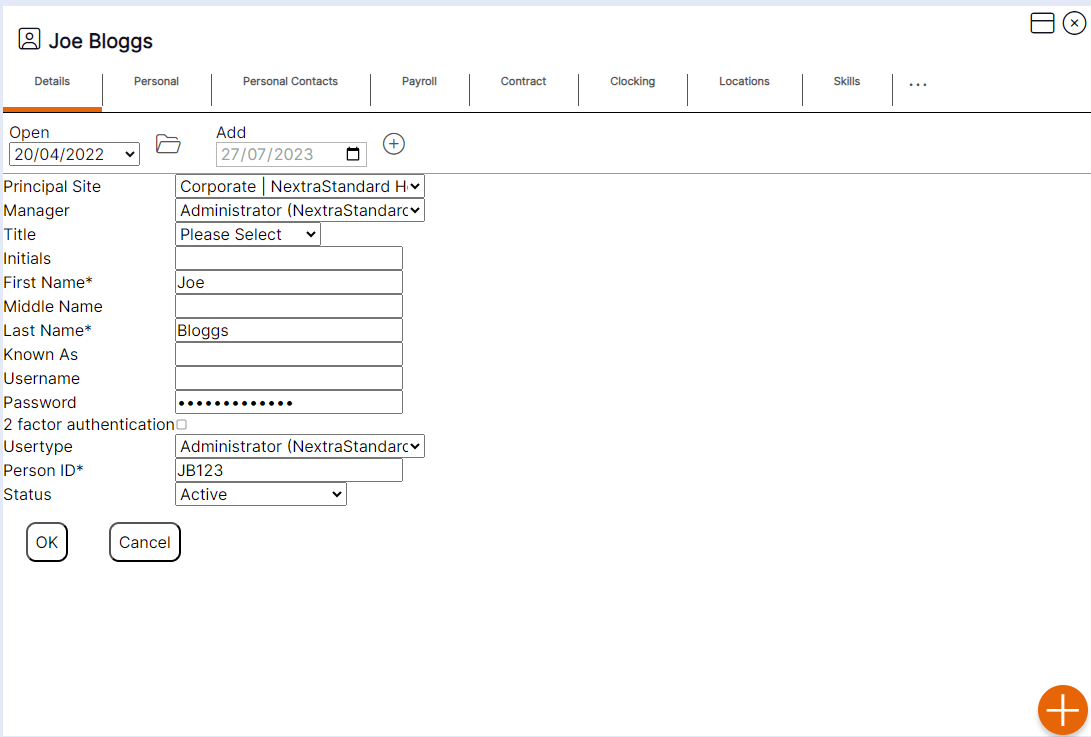
Step 1– Select the Edit icon on the record you wish to update. The record will then open as per this example:
Step 2– Update the details by using the drop-down menus or by deleting old data and typing in new data. (See Contracts tab guidance box within this section for details on how each field is used within the system).
Step 3– Select ‘OK’ to update the existing record.
Please note: Once the updated record has been saved, there will not be an additional entry available within the Open drop-down menu as this is an update to an existing record.
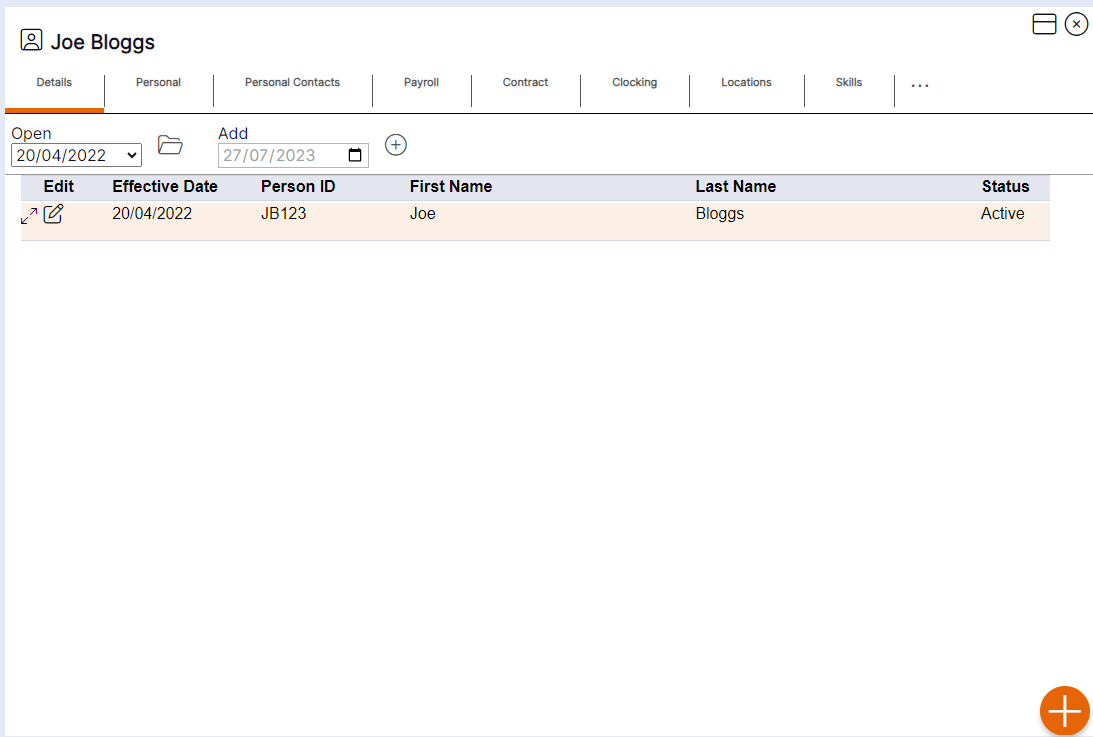
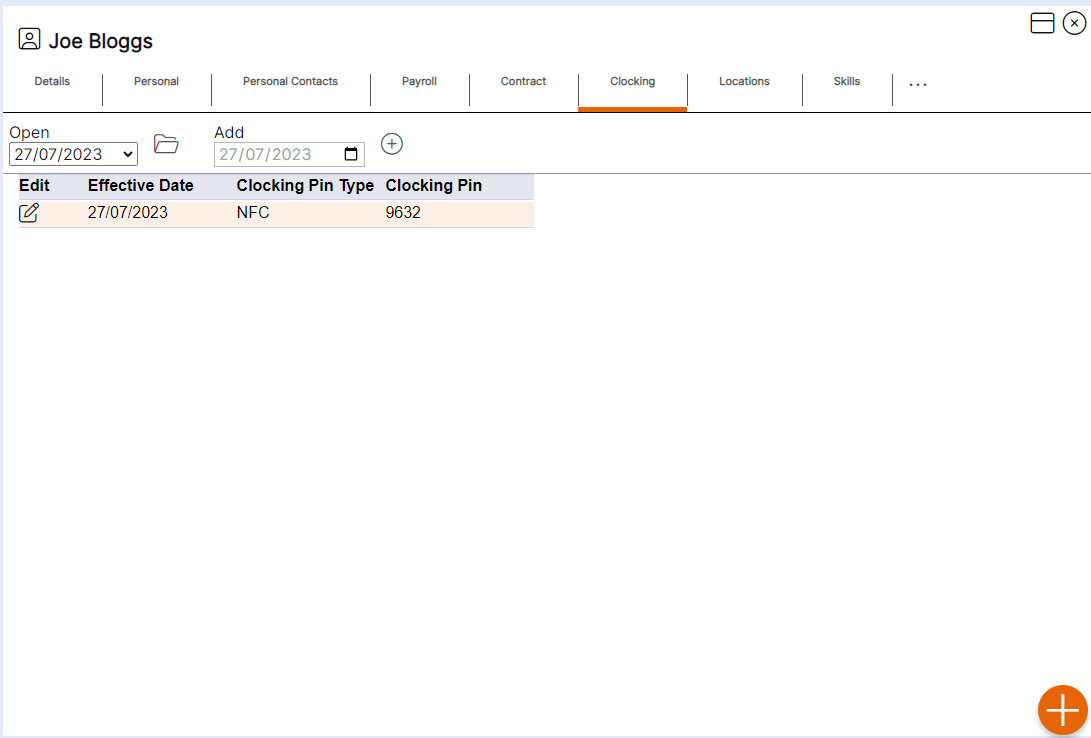
Staff Member Clocking Tab – Viewing existing records and audit history
When selecting the ‘Clocking’ tab within a staff member record, it will display as per the screen shot below. This allows the user to view some of the details of each record quickly and easily without having to open any of the records.
HANDY HINT 1: Staff members must have a ‘Clocking Pin’ assigned to their staff member record in order that users can clock them in and out using the clocking screen. Even if you have not purchased time recording devices or are not planning on making tablets available for users to clock in with, if you wish to manually record work times, a ‘Clocking Pin’ is still required.
HANDY HINT 2: Where the summary table has more than one entry, the record that is active for the staff member will display at the top of the table for ease. The Open drop-down menu will also default to the active record in order that the user can access the current record without having to select the drop-down menu.
HANDY HINT 3: The summary provides the user with an audit history record as to when changes were made for the staff member, and the date those changes came into effect.
Creating a new record for the Clocking tab of a staff member record
In order to create a new record on the Clocking tab of a staff member record users should follow these steps:
Step 1– Use the calendar icon to select the date the changes are effective from for the staff member in question. Once selected this date will populate in the ‘Add’ field
Step 2– Select the plus icon to generate a new record.
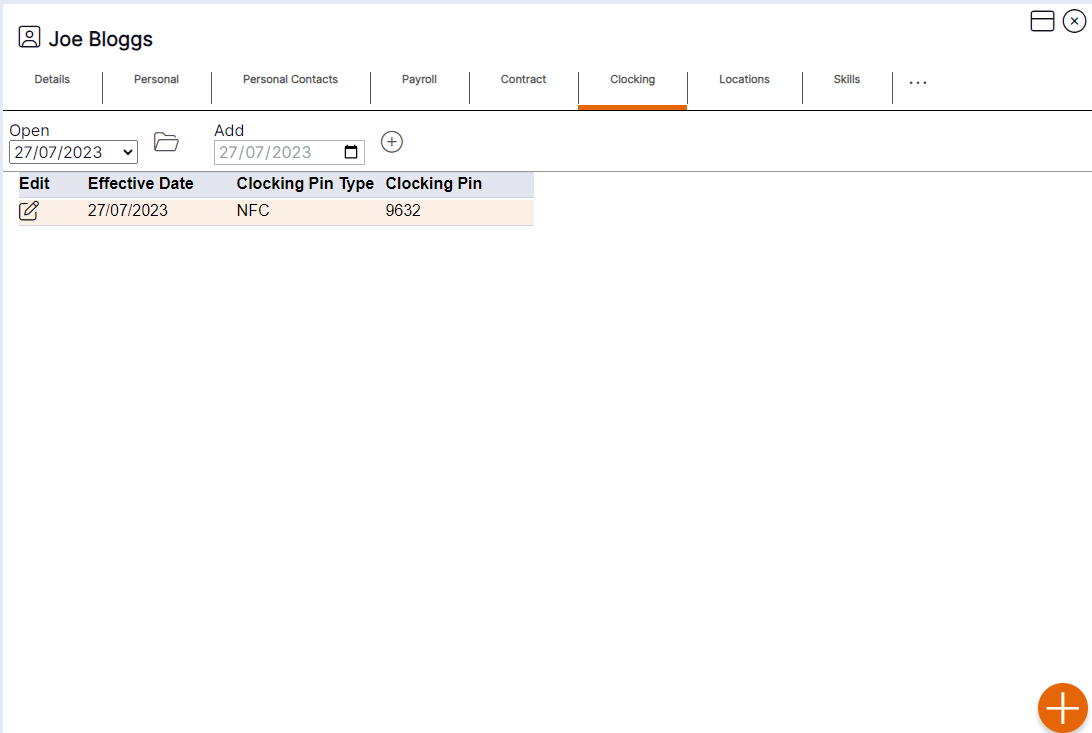
The record will then open as per the example below:

HANDY HINT: When creating a new record, the fields will automatically populate with the details entered on the most recently dated previous record for the staff member. This is useful where only one change is required, meaning the user does not have to re-type all the staff member’s details to create a new entry. If there is no previously dated entry before the effective date entered, the fields will appear blank.
Step 3 – Update the details by deleting old data and typing in new data.
Step 4 – Select ‘OK’ to Save the new record.
Please note: Once a new record has been saved, it will be available to select in the Open drop-down menu and as an entry on the summary screen, showing the effective date that was entered by the user.
Clocking Tab Guidance
Clocking PIN– This should be the PIN that staff member will clock in with at the clocking devices, i.e., the PIN they use to register the start and end of their working day on self-service or on a tablet at a designated point within their place of work. If you have purchased biometric or card reader devices, the PIN entered in this field should be a match to the number on the card or the biometric template registered on the Clocking terminals. This will ensure NEXTRA can associate clock in and out times received from the terminals to the correct staff member.
Clocking PIN Type– Information only. I.e., PIN entry indicates the staff member is using a PIN to clock in, and biometric indicates they are using fingerprint readers to register Clockings.