
Creating New Shift Patterns
Creating New Shift Patterns
New ‘Shift Pattern’ records can be created in the system using the following steps:
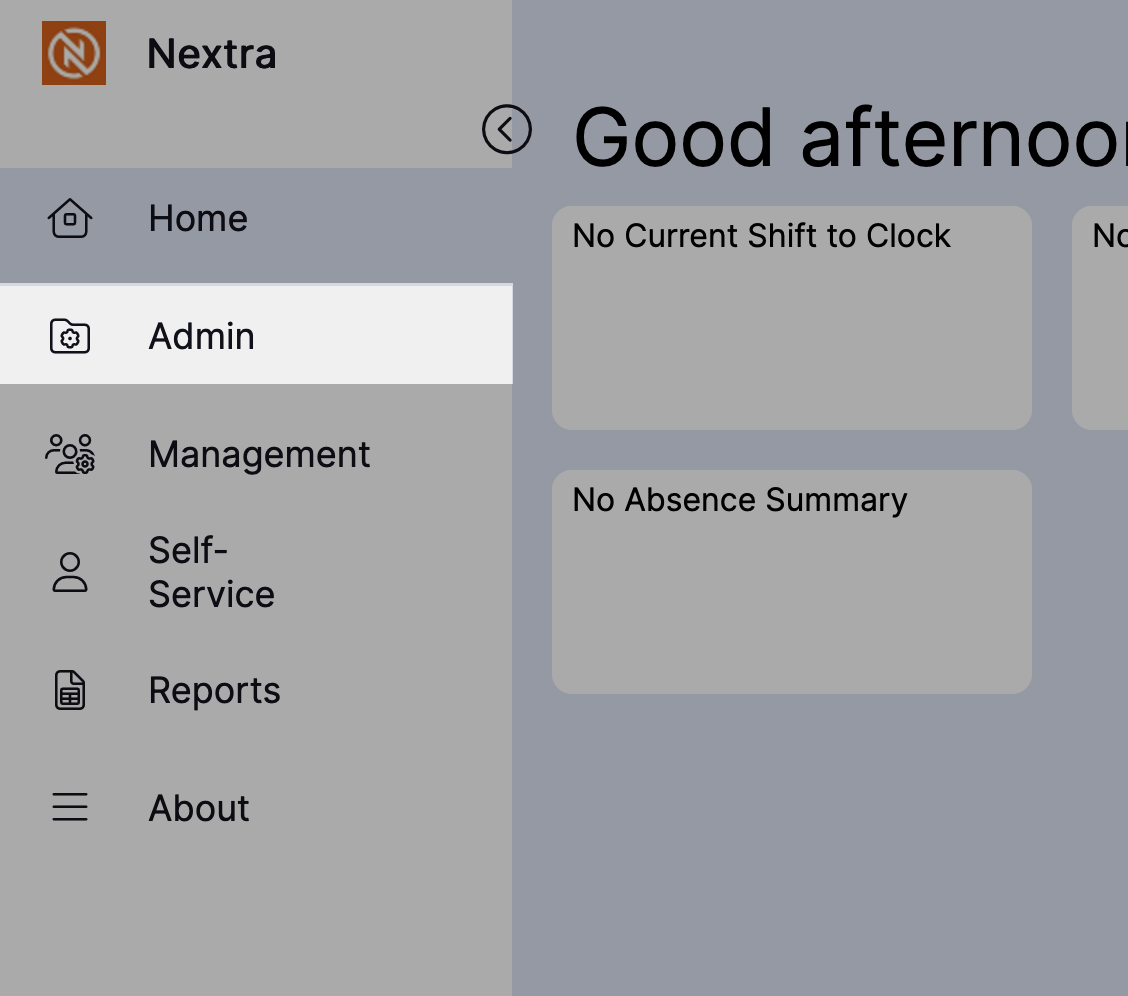
Step 1 - From the Home Page select the ‘Admin’ tab.
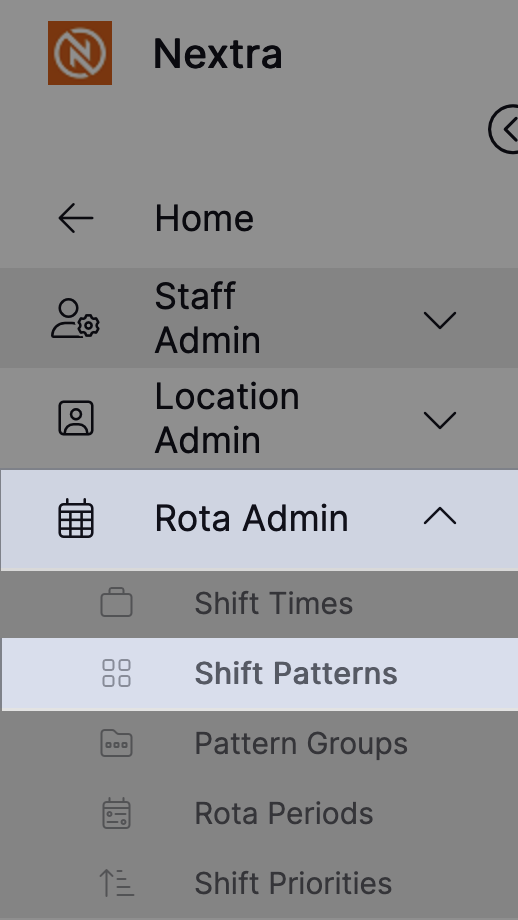
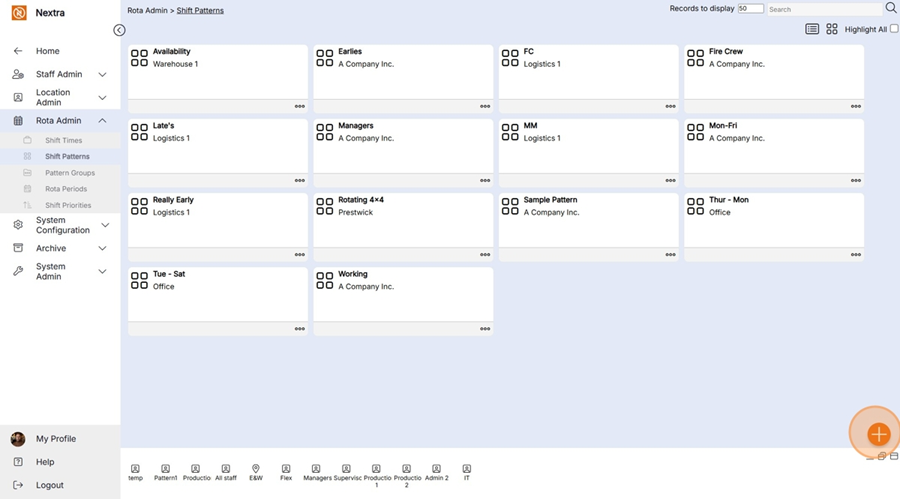
Step 2 – Select 'Rota Admin' and then 'Shift Patterns'
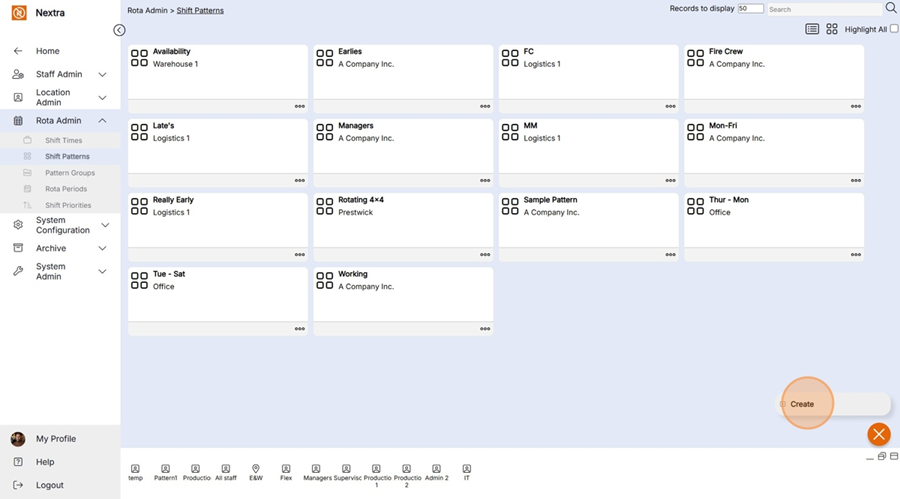
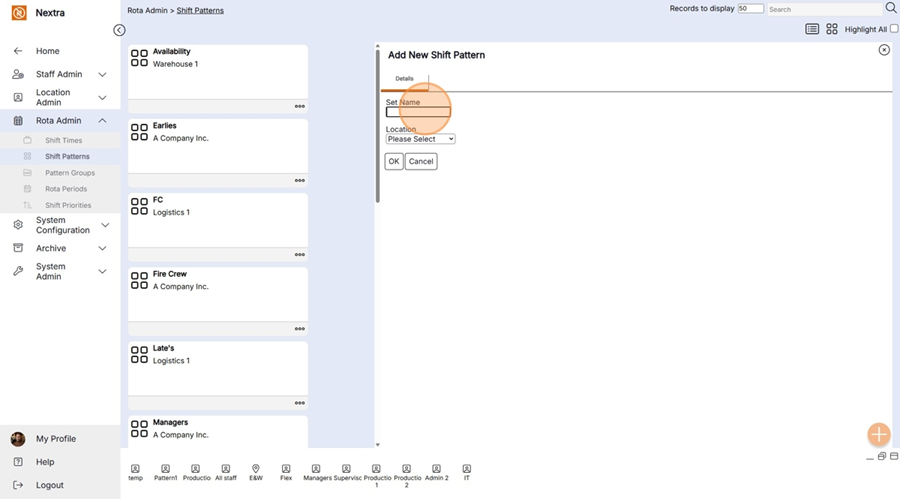
Step 3 – Select 'white cross in the orange circle'
HANDY HINT: When selecting the location of the ‘Shift Pattern’, ensure you select the location at which the pattern is relevant within the hierarchy. For example, if this pattern could be worked by all staff in the business, you should assign the top-level location, so it appears for use for all users to amend, and as an option to assign to any staff within the business. Alternatively, if this pattern would only be worked by staff in a particular department and also any staff within an area of that department, you should choose the department as its location, in order that it can be applied to staff on the rota within that department or any staff within an area owned by that department.
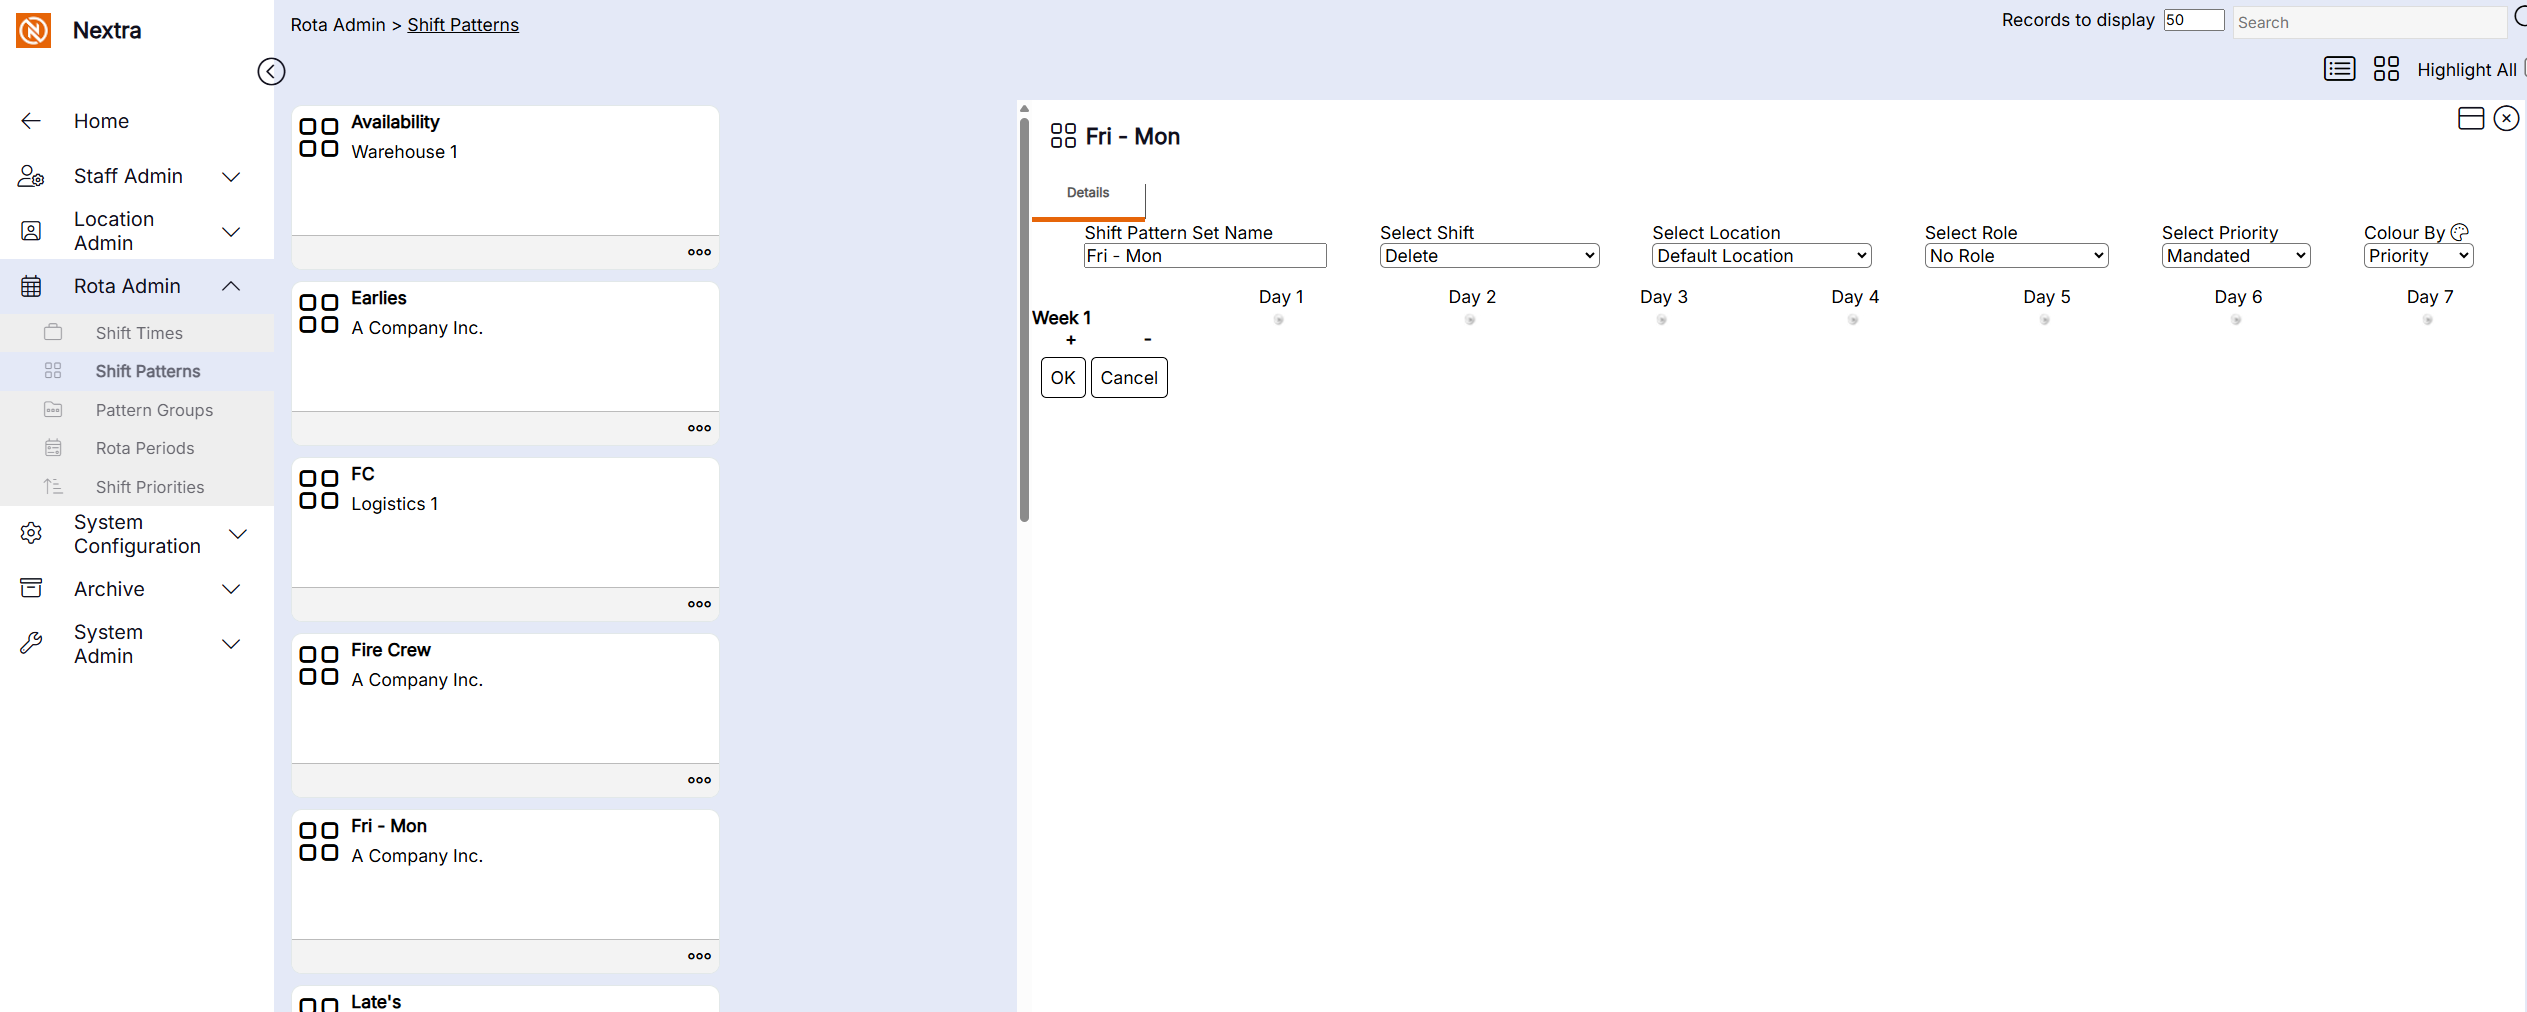
The new ‘Add New Shift Pattern’ record will display as per the example below:
Step 4 – Update the details by using the drop-down menus and typing in new data.
Set Name: Enter the name of the ‘Shift Pattern’ as you would like it to display in the ‘Admin’ screen on the ‘Shift Pattern’ management tab, and within ‘Pattern Groups’ as an option to assign to a group of staff members.
Location: The location this ‘Shift Pattern’ should be available in. Only staff with access to this ‘Location’ or ‘Locations’ below it will be able to use it.

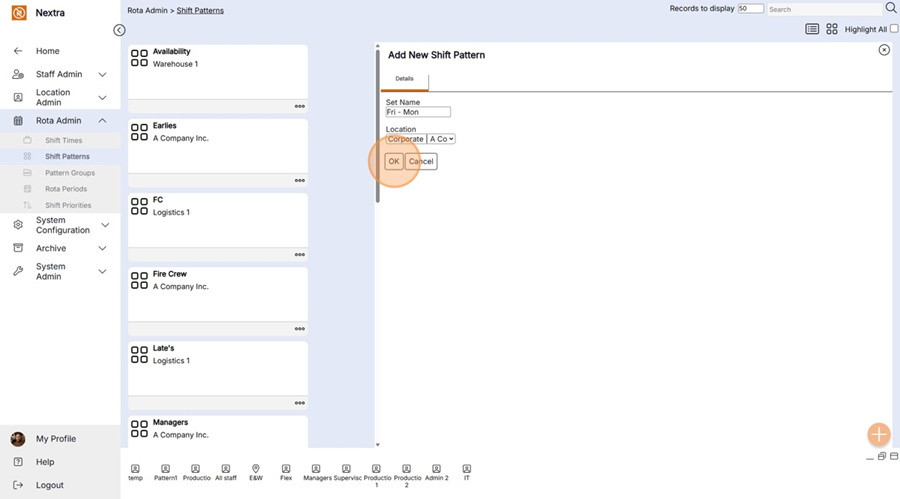
Step 5 – Select ‘OK’ to create the new shift pattern.
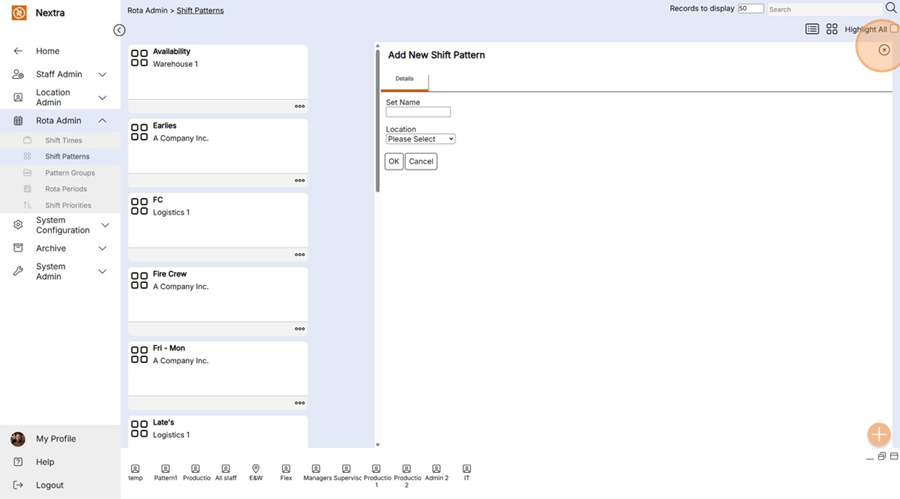
Step 6 - Close the screen by clicking the cross top right corner
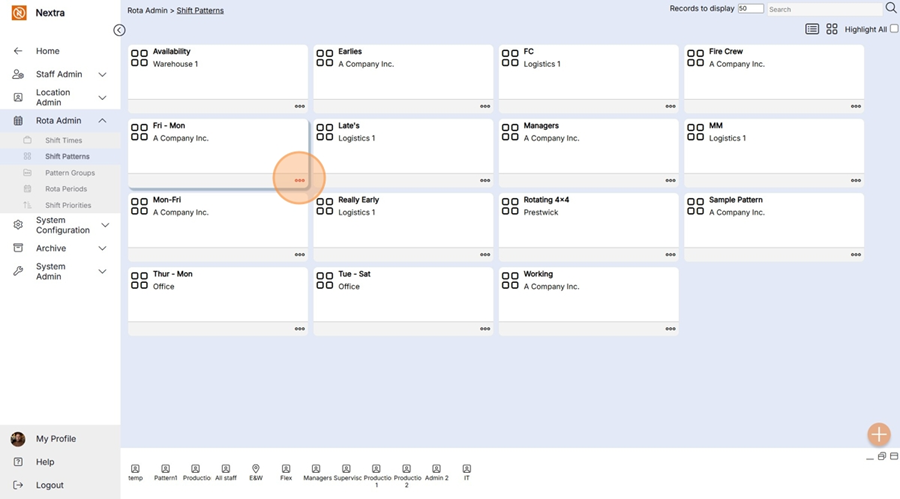
Step 7 - Go into the newly created shift by clicking the 3 dots
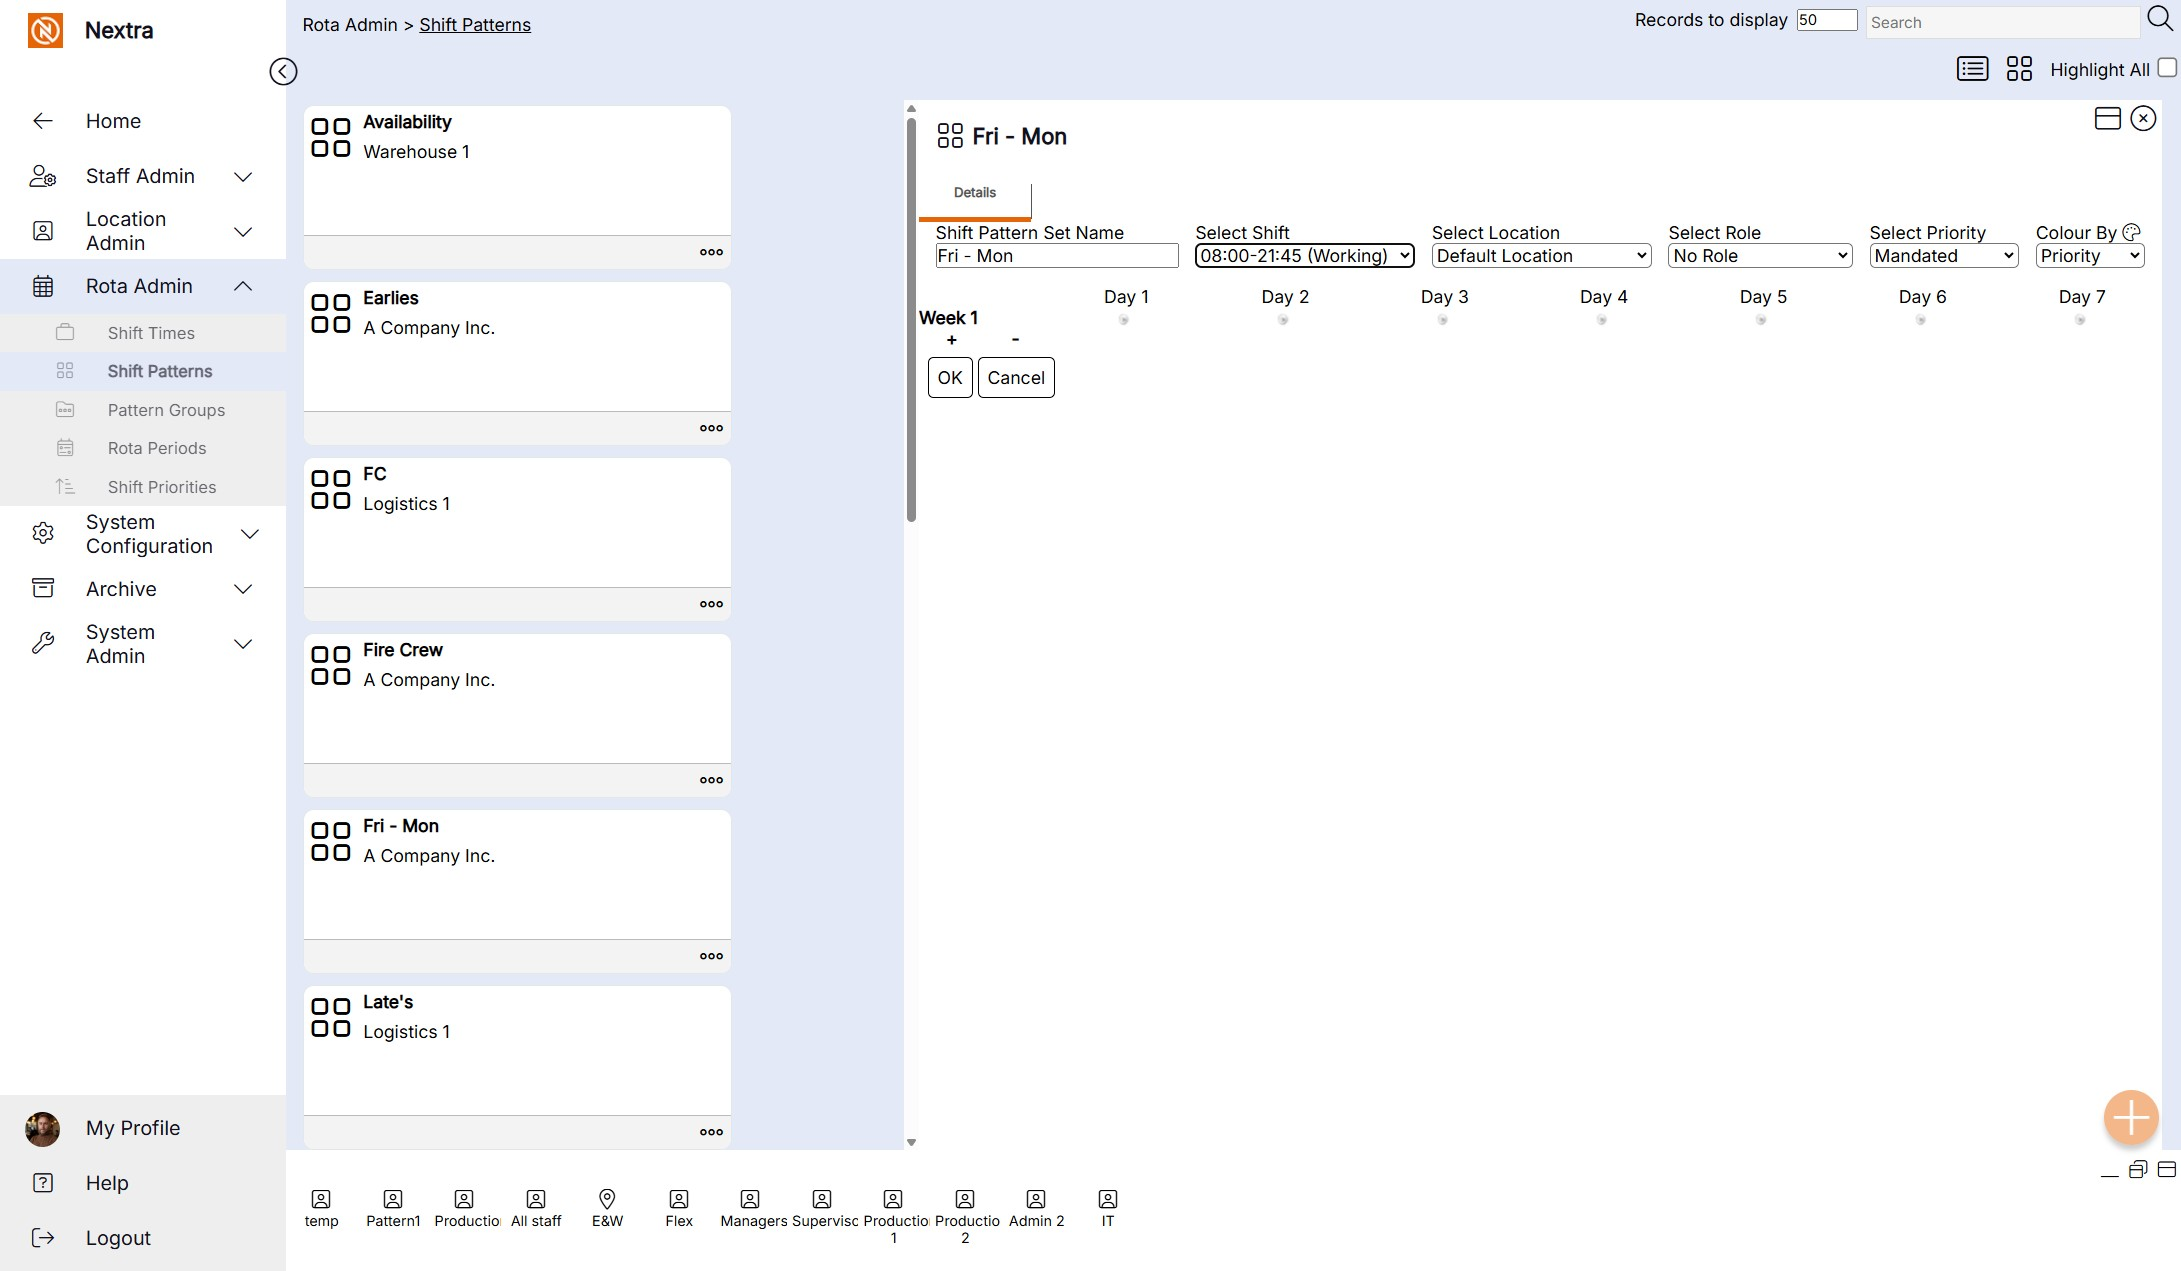
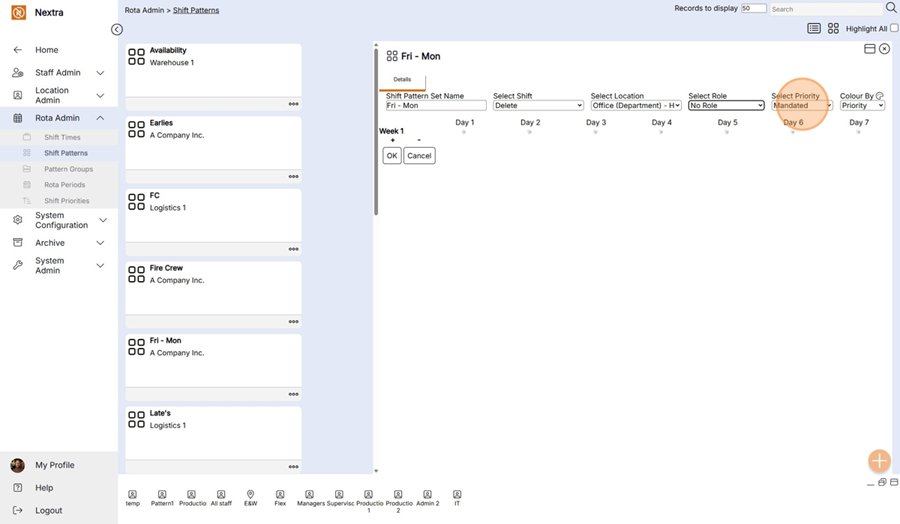
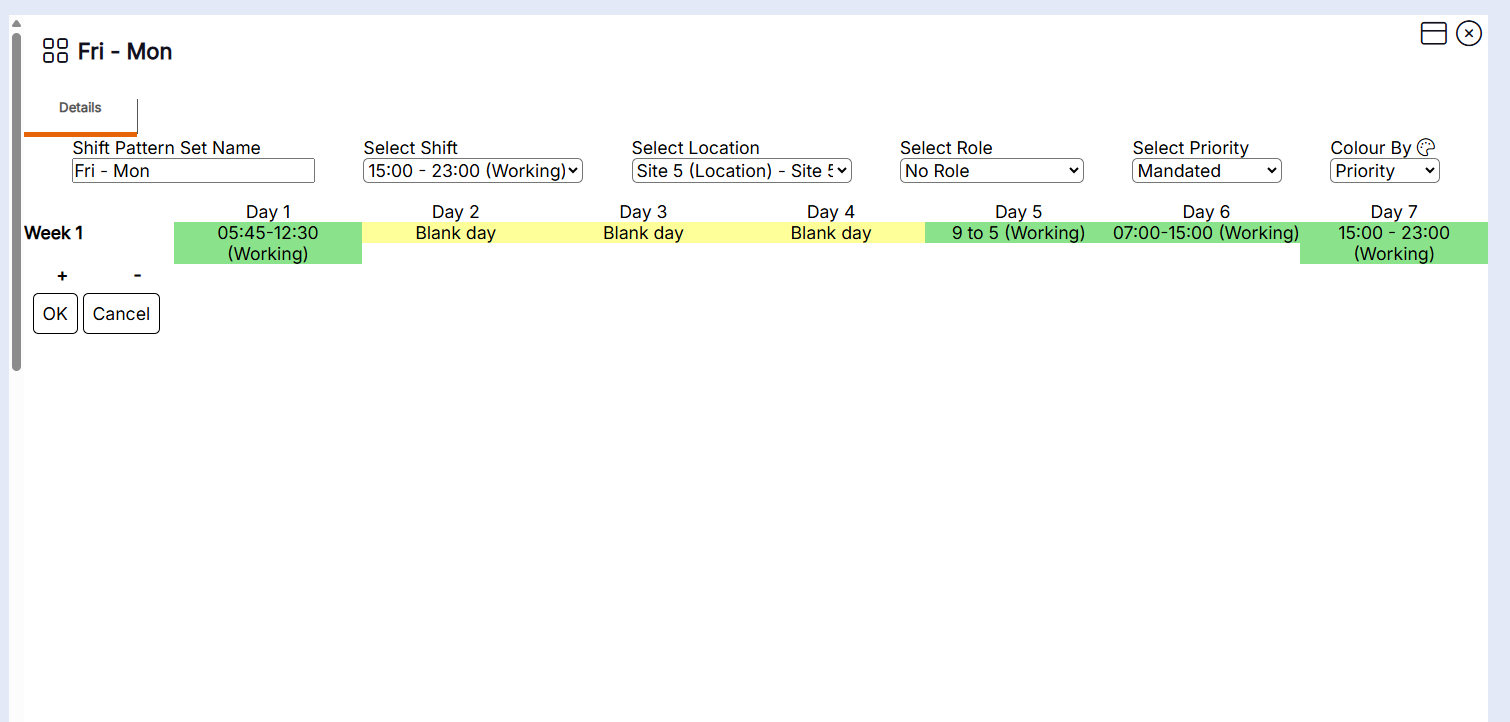
The screen shot below is a blank template and an overview of the information that can be recorded within the Shift Pattern
i) The Shift Pattern Set Name is pre populated from the set up before.
ii) Select shift is where you select the shift that is going to be worked.
iii) Select the Location - this is the location where the shift is being worked at
iv) Select Role - This is if you wish to select a role for the shift
v) Select Priority - this is the shift Priority
vi) Colour if you wish to allocate one to the shift
The instructions below will show how to create the Working Shifts of Friday - Monday.
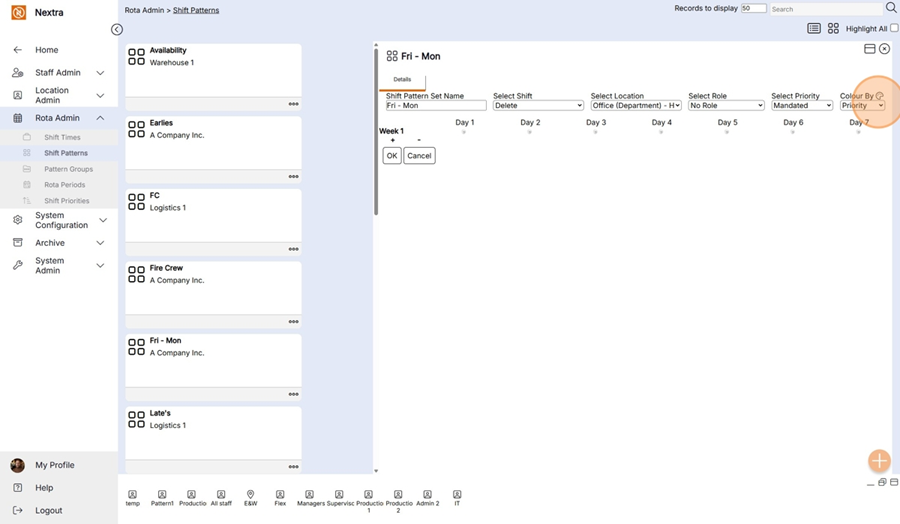
Step 1 - Select the shift you want to add to the rota.
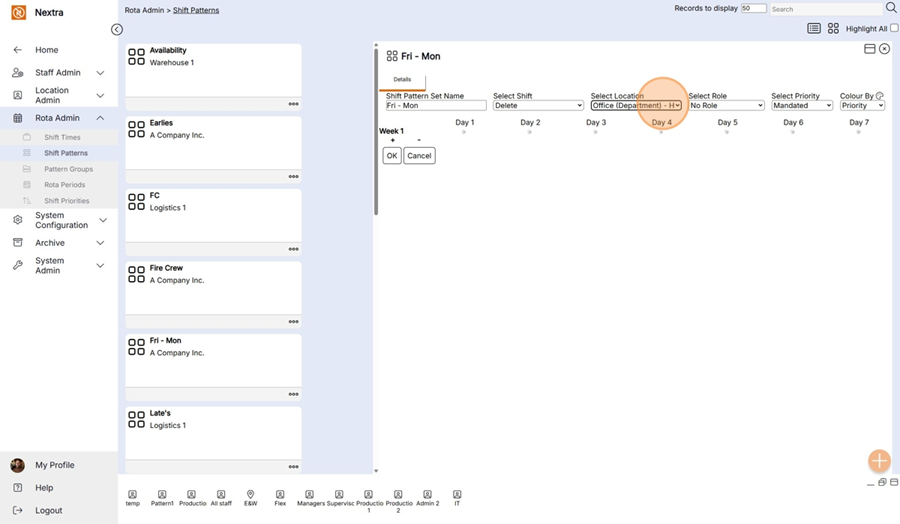
Step 2 - Select the Location where the shift is being worked
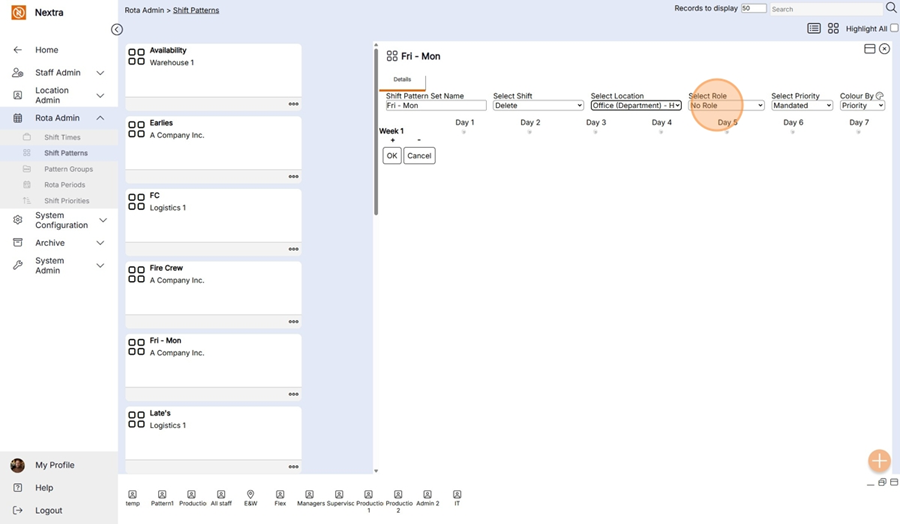
Step 3 - If the shift is for a specific role, it can be allocated in the ' Select Role'
Step 4 - Select the Priority of the Shift
Step 5 - Select the colour if required
Now we can add the shifts to the pattern
Ensure the fields above are completed correctly to what you want to add to the rota if the are
Click below the day the shift is to be added.
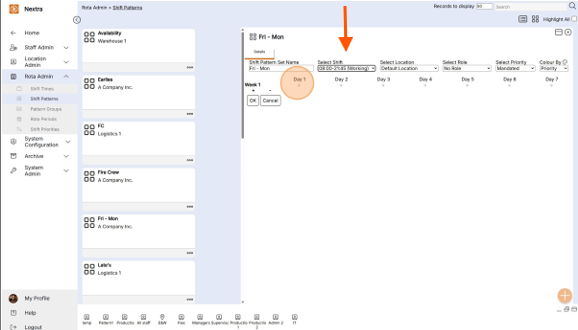
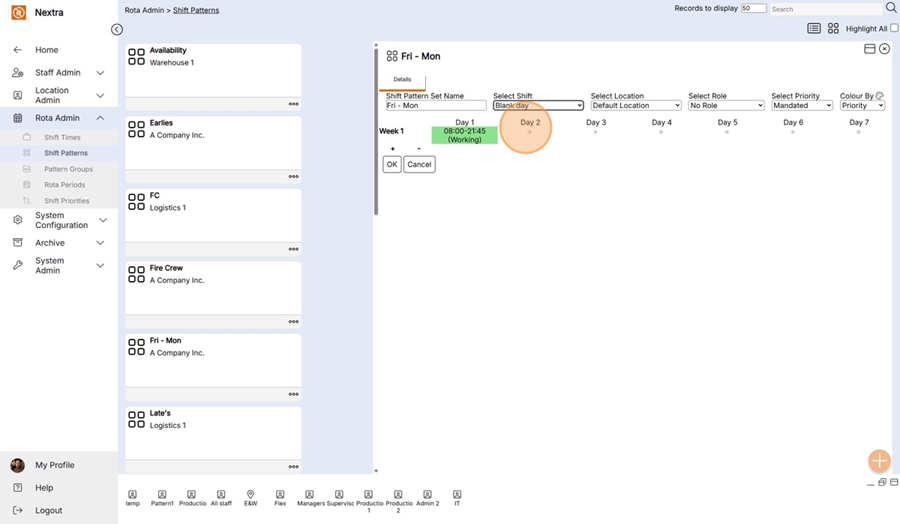
Step 1 - Day 1 is a Monday - so as our shift pattern has a Monday as a working day add the shift that is being worked to day 1.
The shift is now added as per the screen shot below.
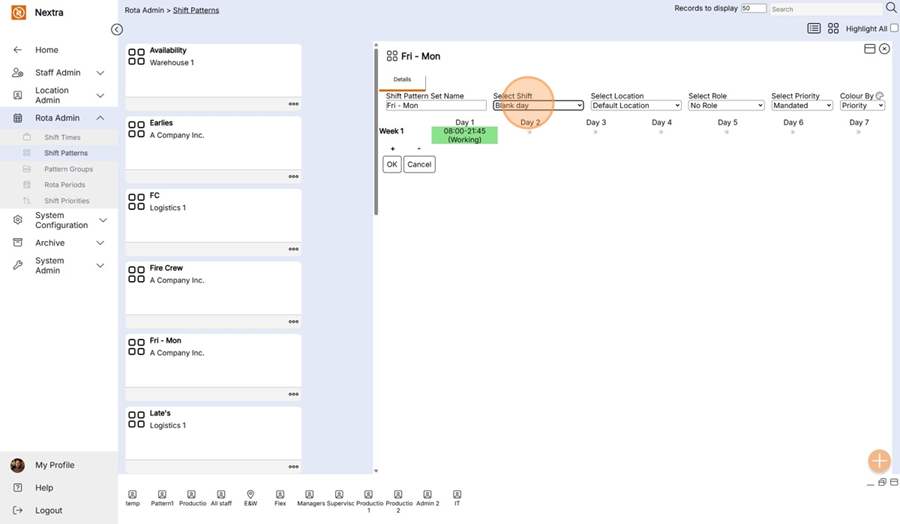
Step 2 - Day two on our shift pattern is a non working day so we mark this as a blank day.
i) Change the Select shit to blank day and click the icon below day 2 - This will make Tuesday a non working day,
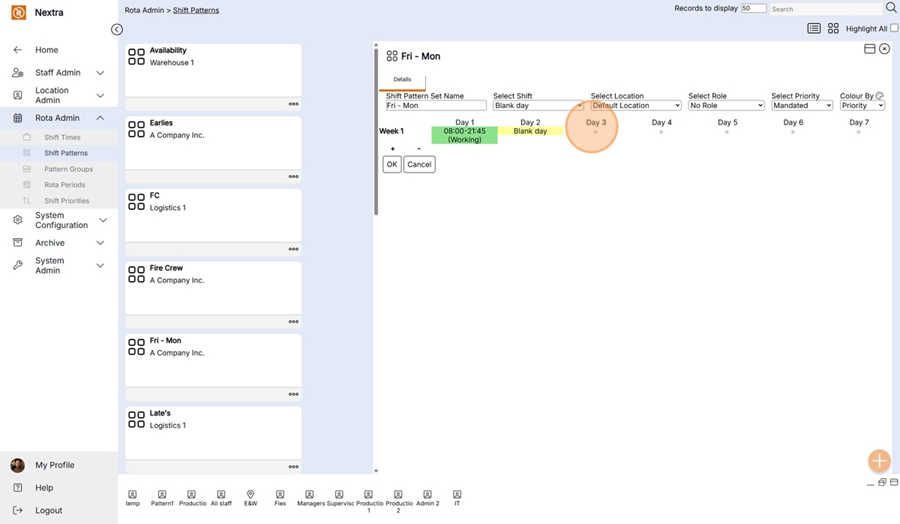
Step 3 - Repeat by clicking day 3 & day 4 as blank days so the rota looks like the screen shot below.
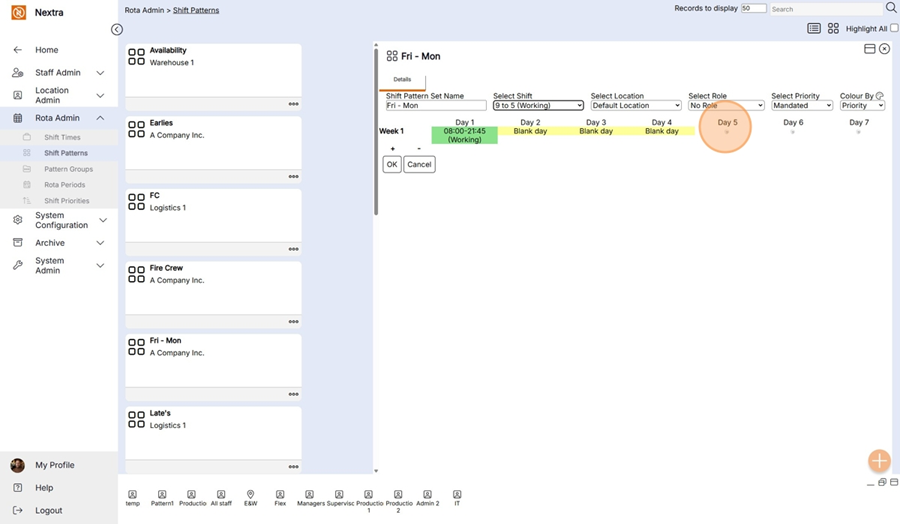
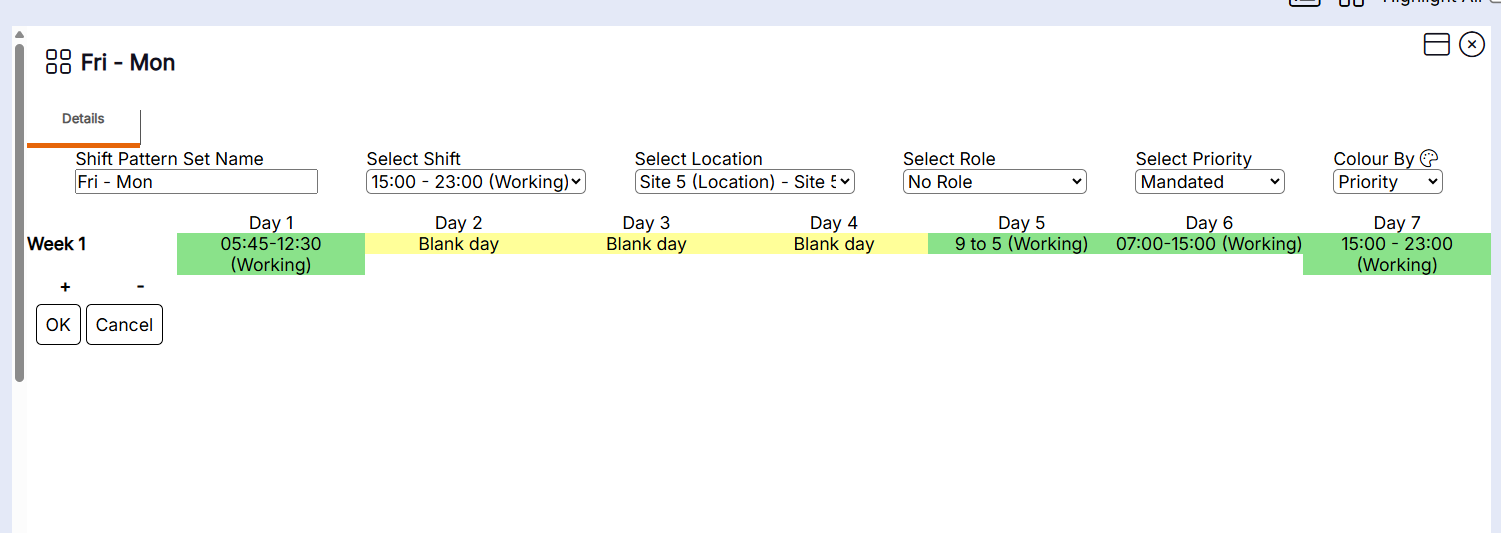
Step 4 - Day 5 is a working day so we go back the select shift drop down and select the shift to be added and click below day 5 to add this to the pattern
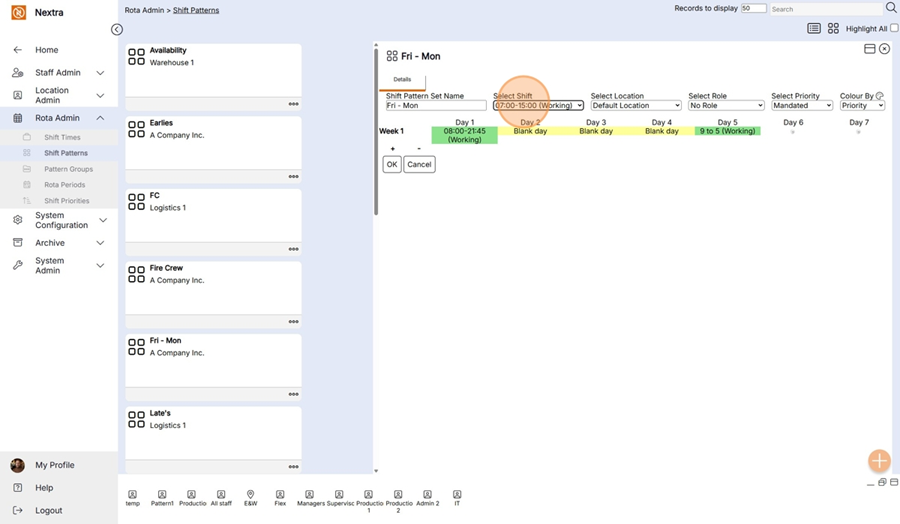
Add the shifts as required to day 6 & Day 7 - The rota will then look like below
Deleting / Amended the shift pattern.
If you wish to make a change to the pattern that has been created,
Step 1 - Change the Select Shift to 'Delete'
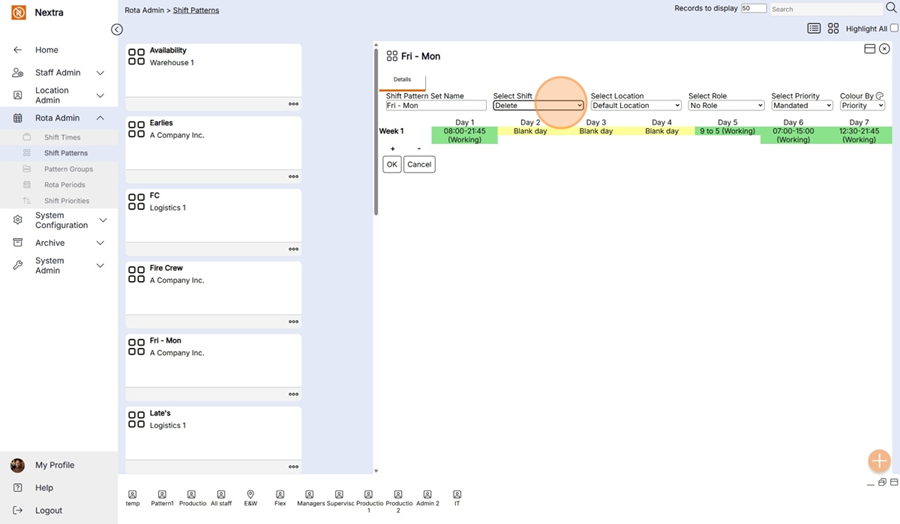
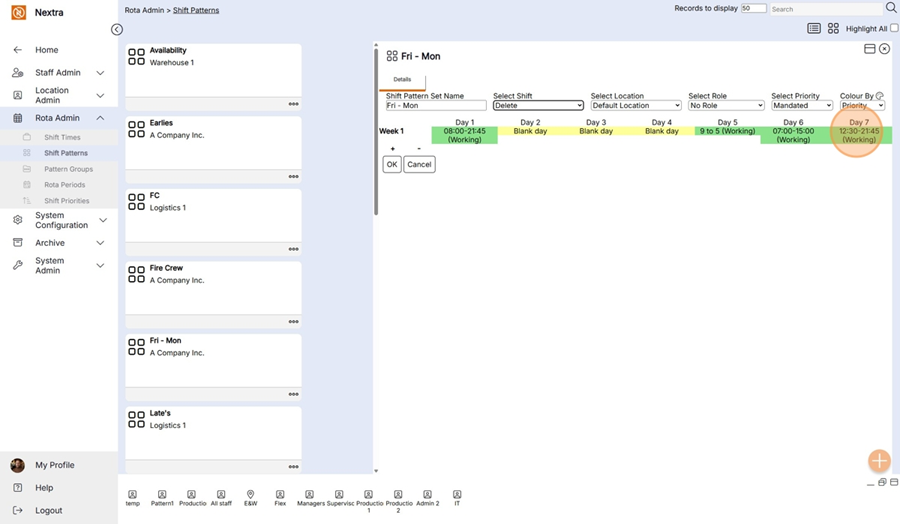
Step 2 - Then click on the shift you wish to delete and change
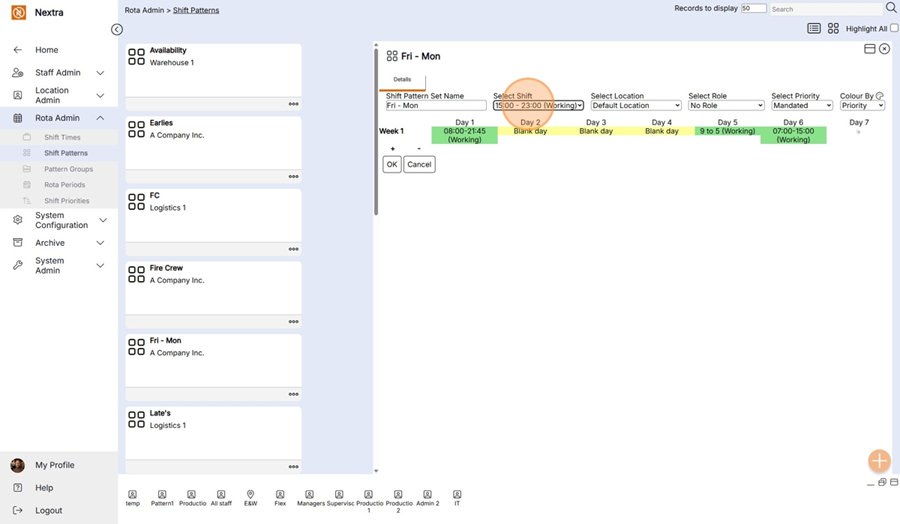
The correct shift can then be selected and added by changing the select shift and re-clicking below the day the new shift is being added

This Shift Pattern can now be used in the Rota.