Adding a shift to a Rota
In this document we look at creating a simple Rota. For a Rota to be created we first need to have Shift times in the system.
See 'How to set up shift times' if no 'shift times' have been created or if a 'new shift' time is required.
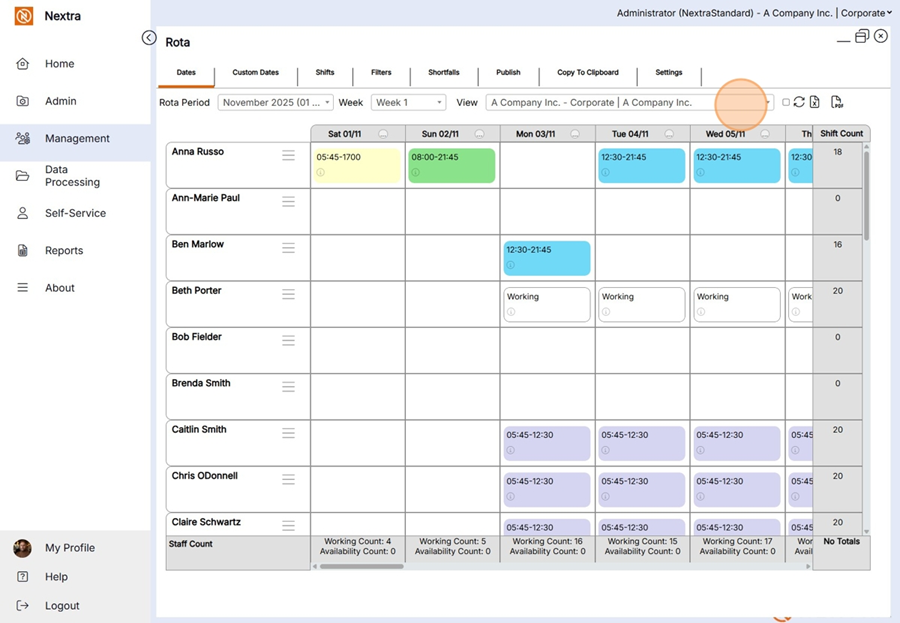
Step 1 - From the Home menu select 'Management'
Step 2 - From the management section select the 'Rota' tile

Step 3 - Select the period the shifts are being added too - In this example we are using November 25
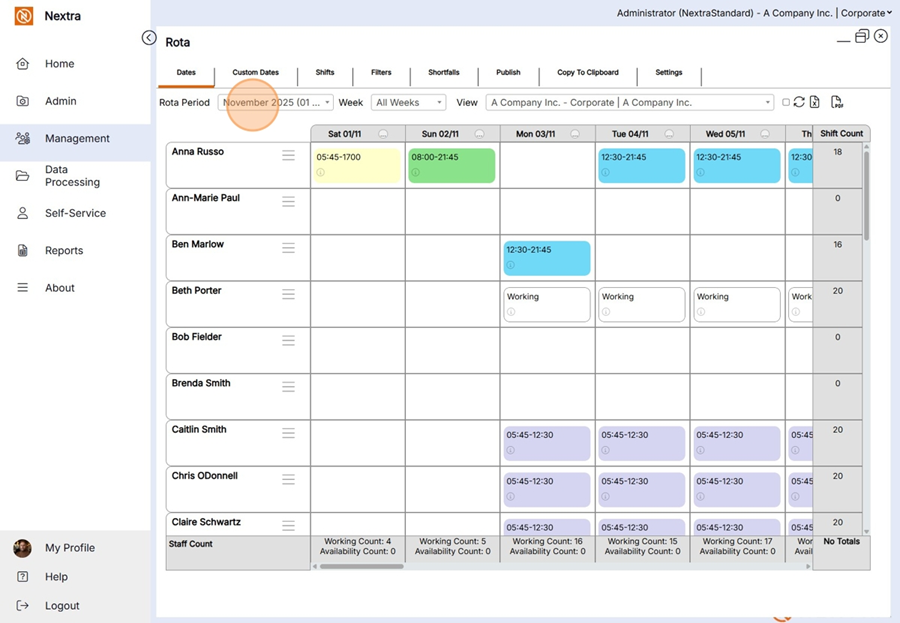
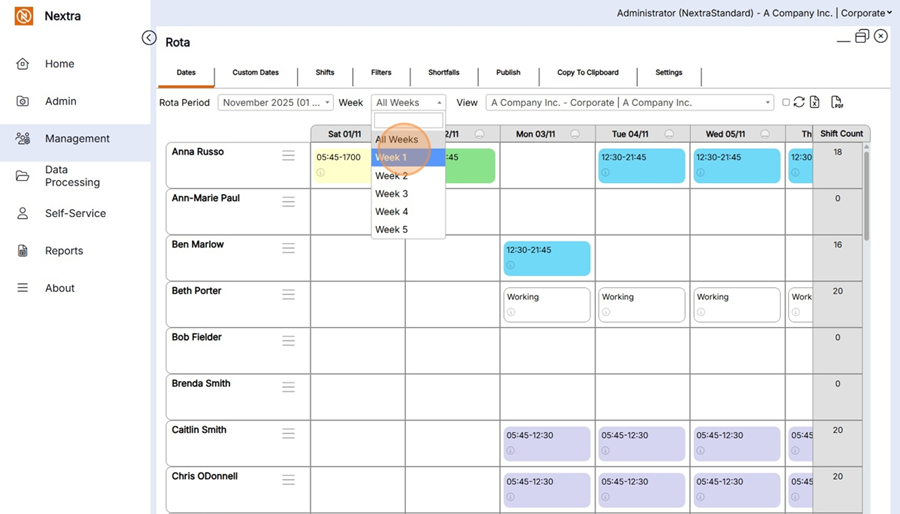
Step 4 - the Rota can be viewed by rota Periods, Months or Weeks . Select the Days you want to add the shifts too.
Step 5 - Select the location where the staff member works and that you want to add the shifts too.
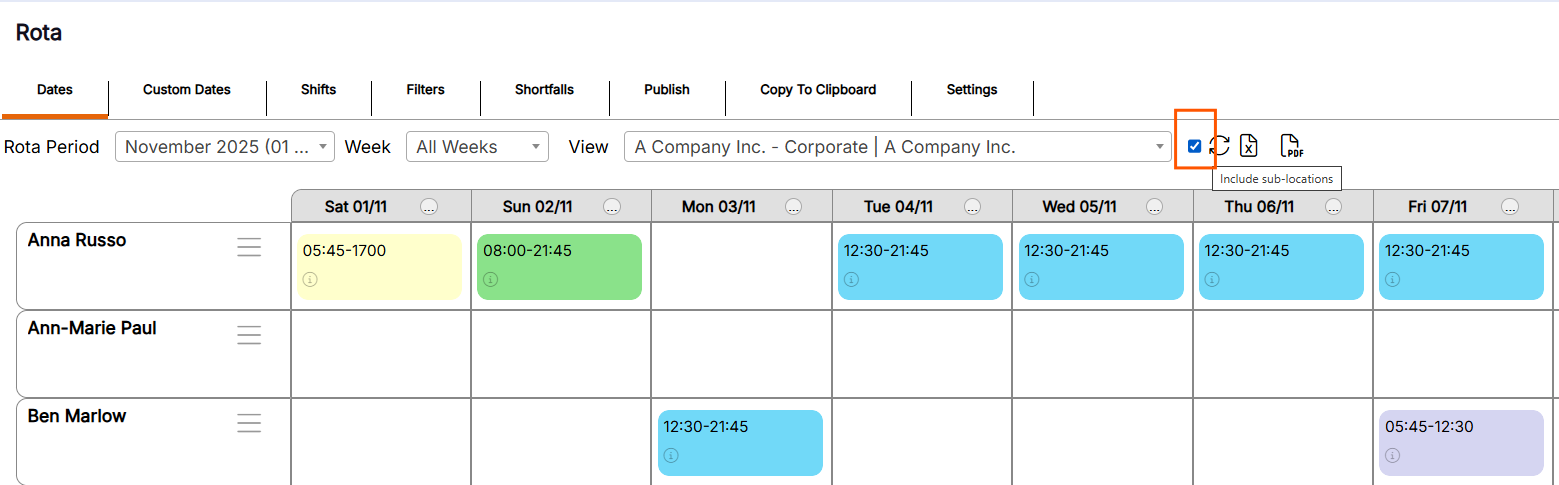
NB by selecting the tick box next to the view location - All sub locations will show on the Rota.
Screenshot belwo.
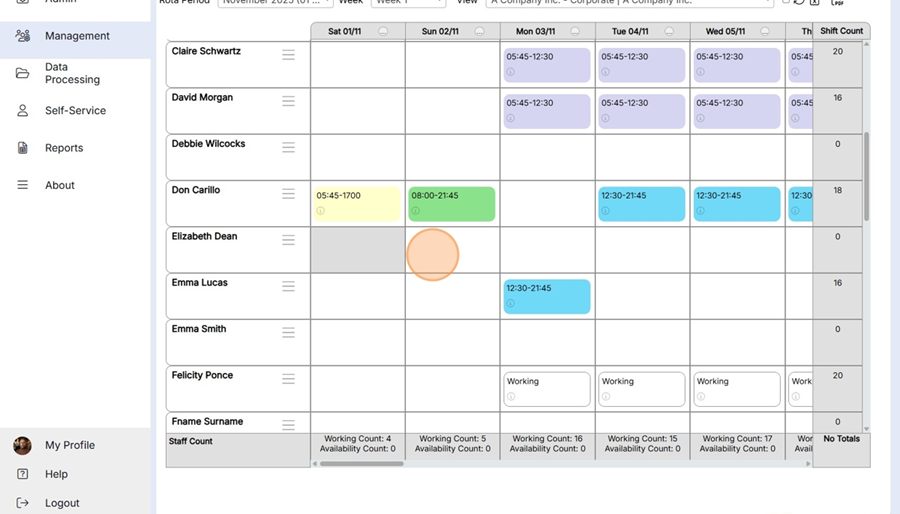
Step 6 - Find the staff member the shifts are to be added too - In this instance we are using 'Elizabeth Dean' - click on each cell the shift is being added too, in this example we are adding shifts to Saturday 1st November - Wednesday 5th November.
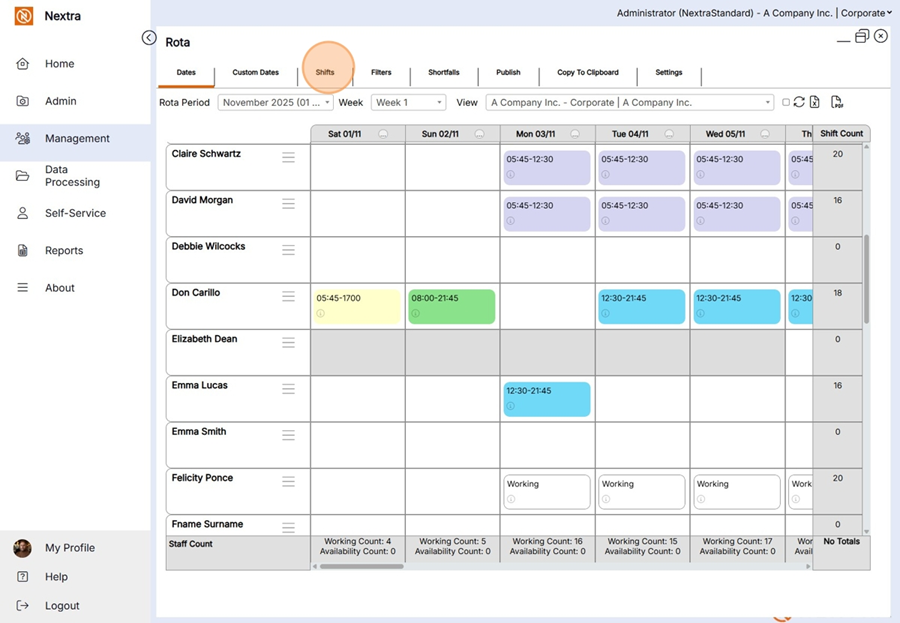
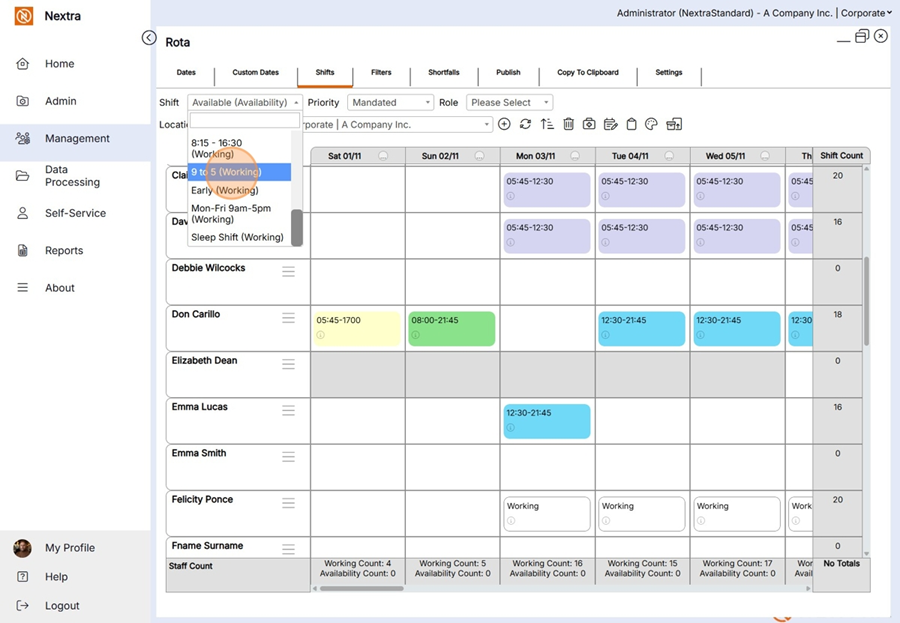
Step 7 - When the cells have been selected click on the 'Shifts' tab and select the shift you wish to add to the staff member.
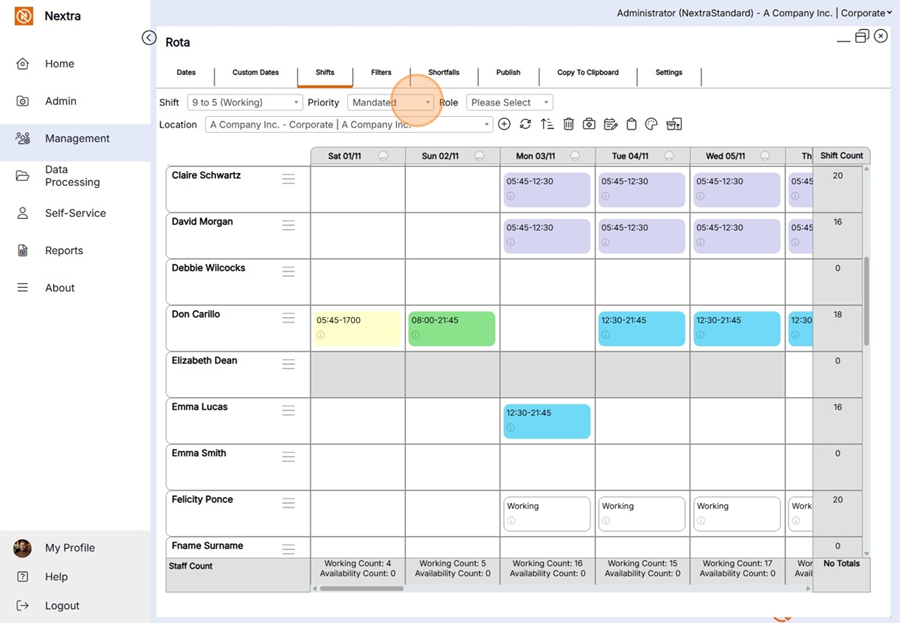
Step 8 - Select from the 'Priority' - Mandated
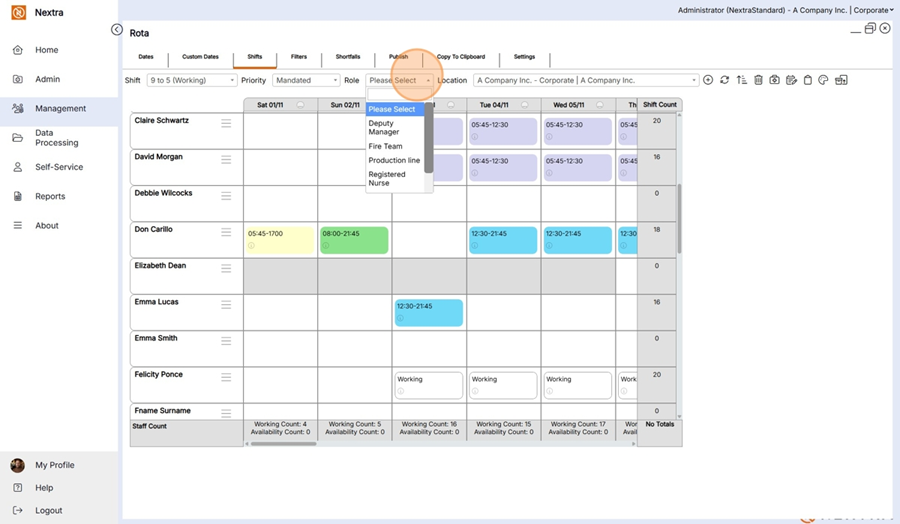
Step 9 - If the shift has a particular role select it here.
Step 10 - Select the location the shift is being worked at.
Step 11 - Click the + icon to add the shift to the staff members rota
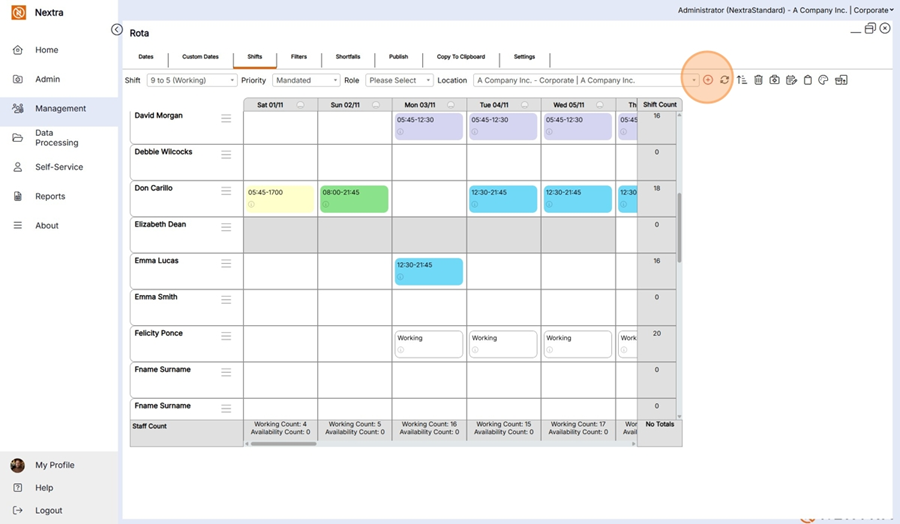
The staff member will now have 5 days worth of shifts on the rota for them

NB: Depending on how the software has been set up for your business the rota may need to be published in order for it to be viewed by members of staff.
To publish the rota select the date period the rota that is being published for and click the publish button.

Further Information on the Rota Screen.
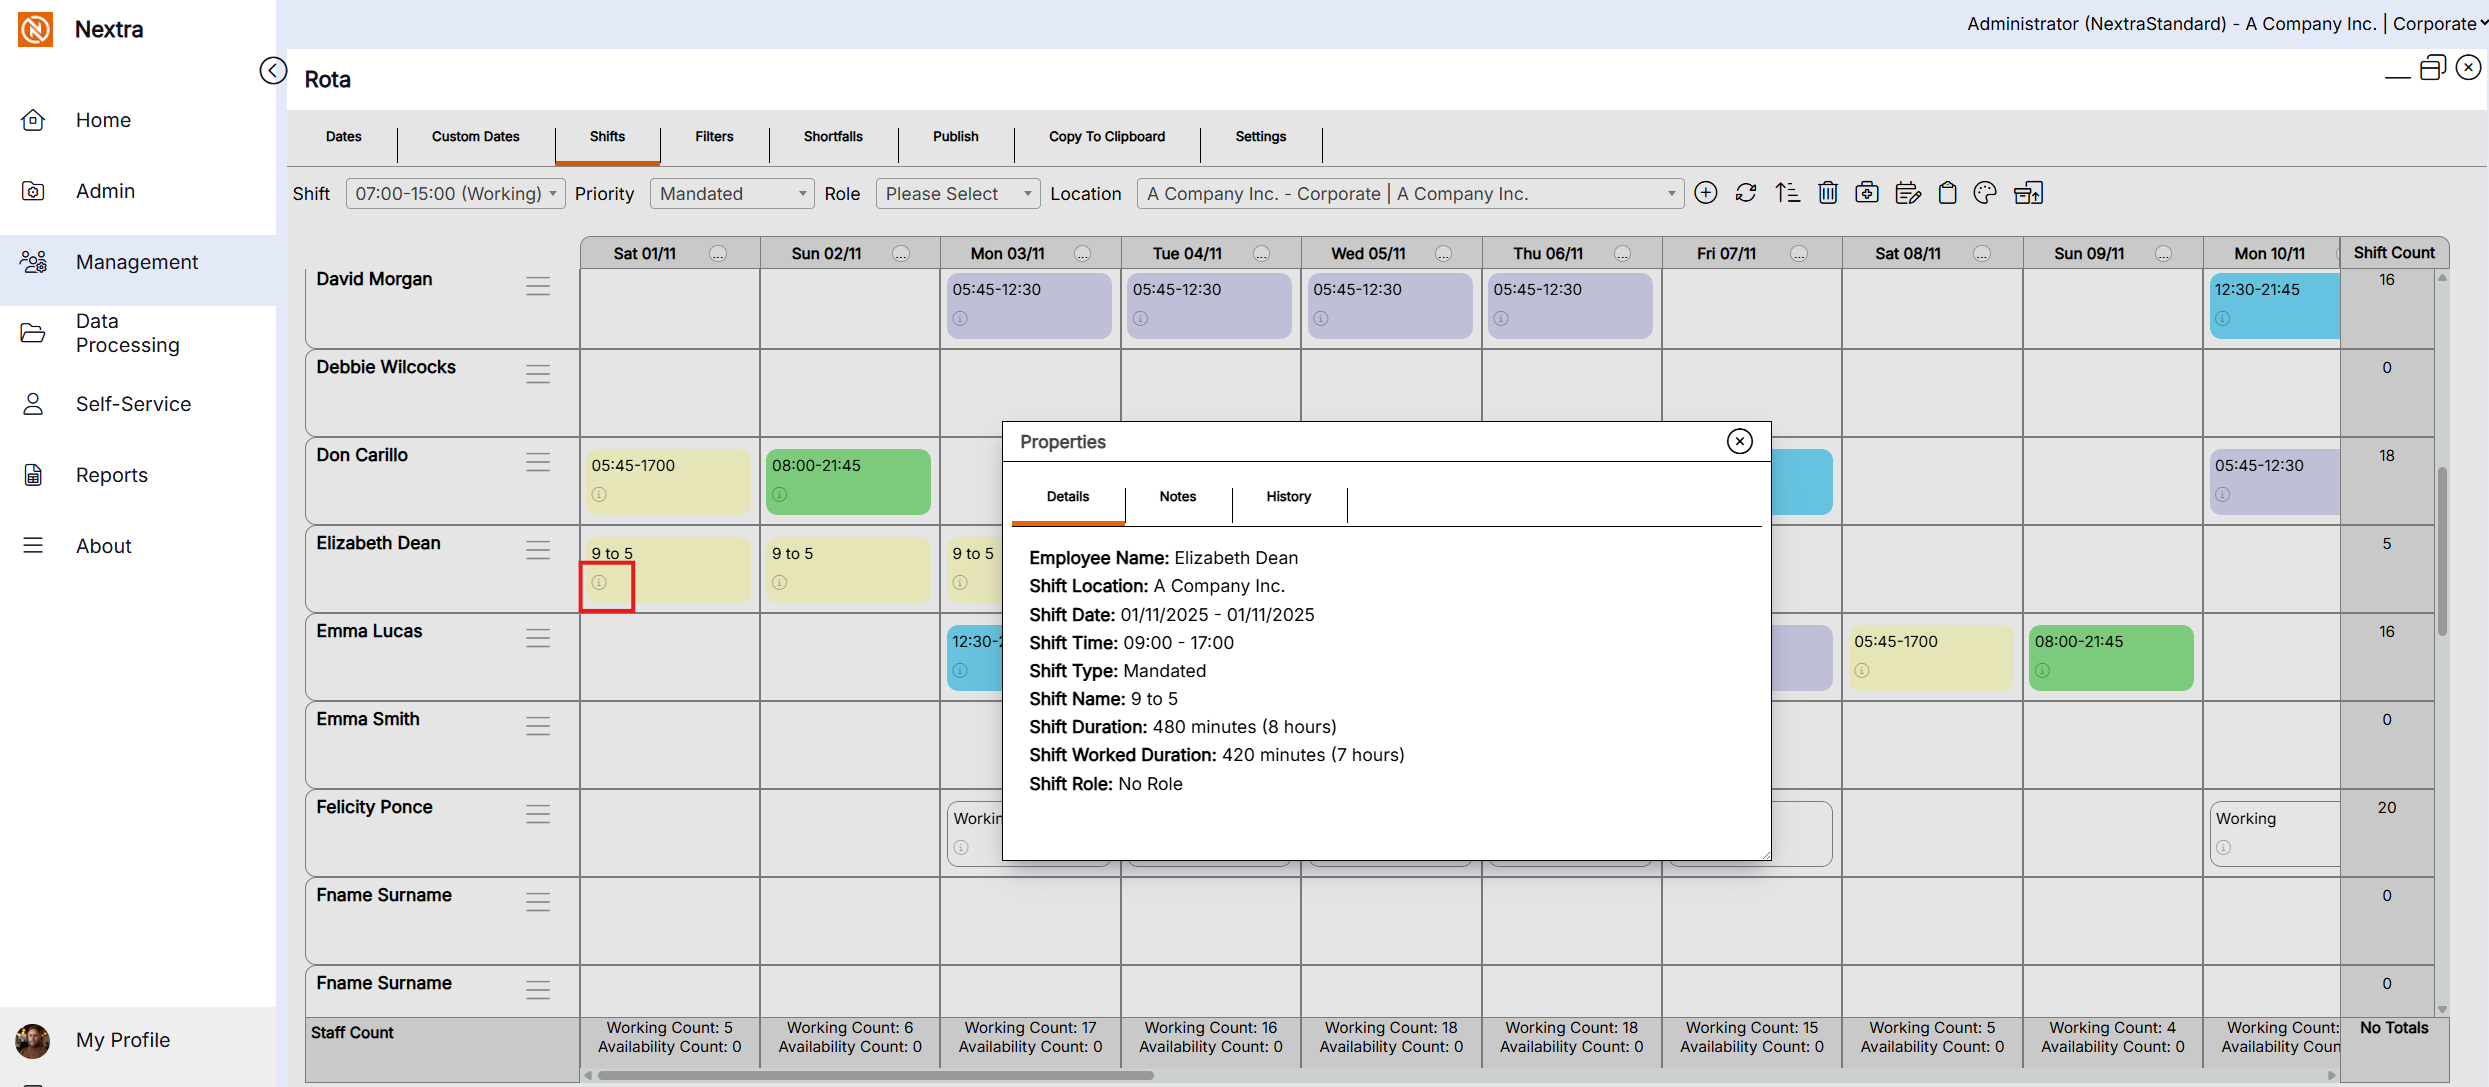
To view details for the shift from with in the rota click the i icon at the bottom left corner of the shift cell, This will open a pop up box with the details of the shift.
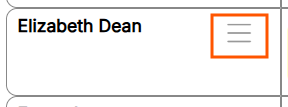
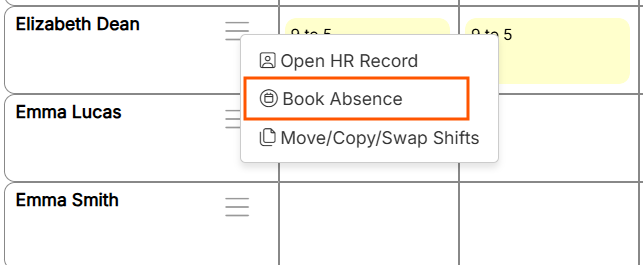
Beside each staff member listed on the rota is the Hamburger menu a sub menu will open up
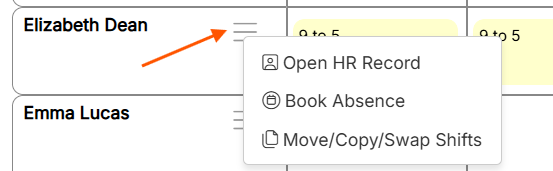
When clicking on the hamburger menu the following area's are available to view.
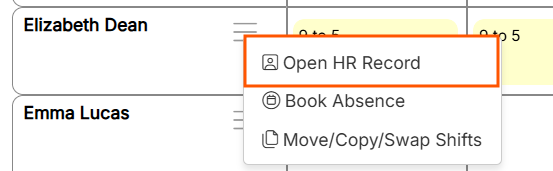
'Open HR Record' opens the staff members personnel record
The screen below will open up with the following tabs (these are the same as when a staff members record is set up)

'Book Absence' - Absences can be booked directly in the Rota.
Select book absence within the menu
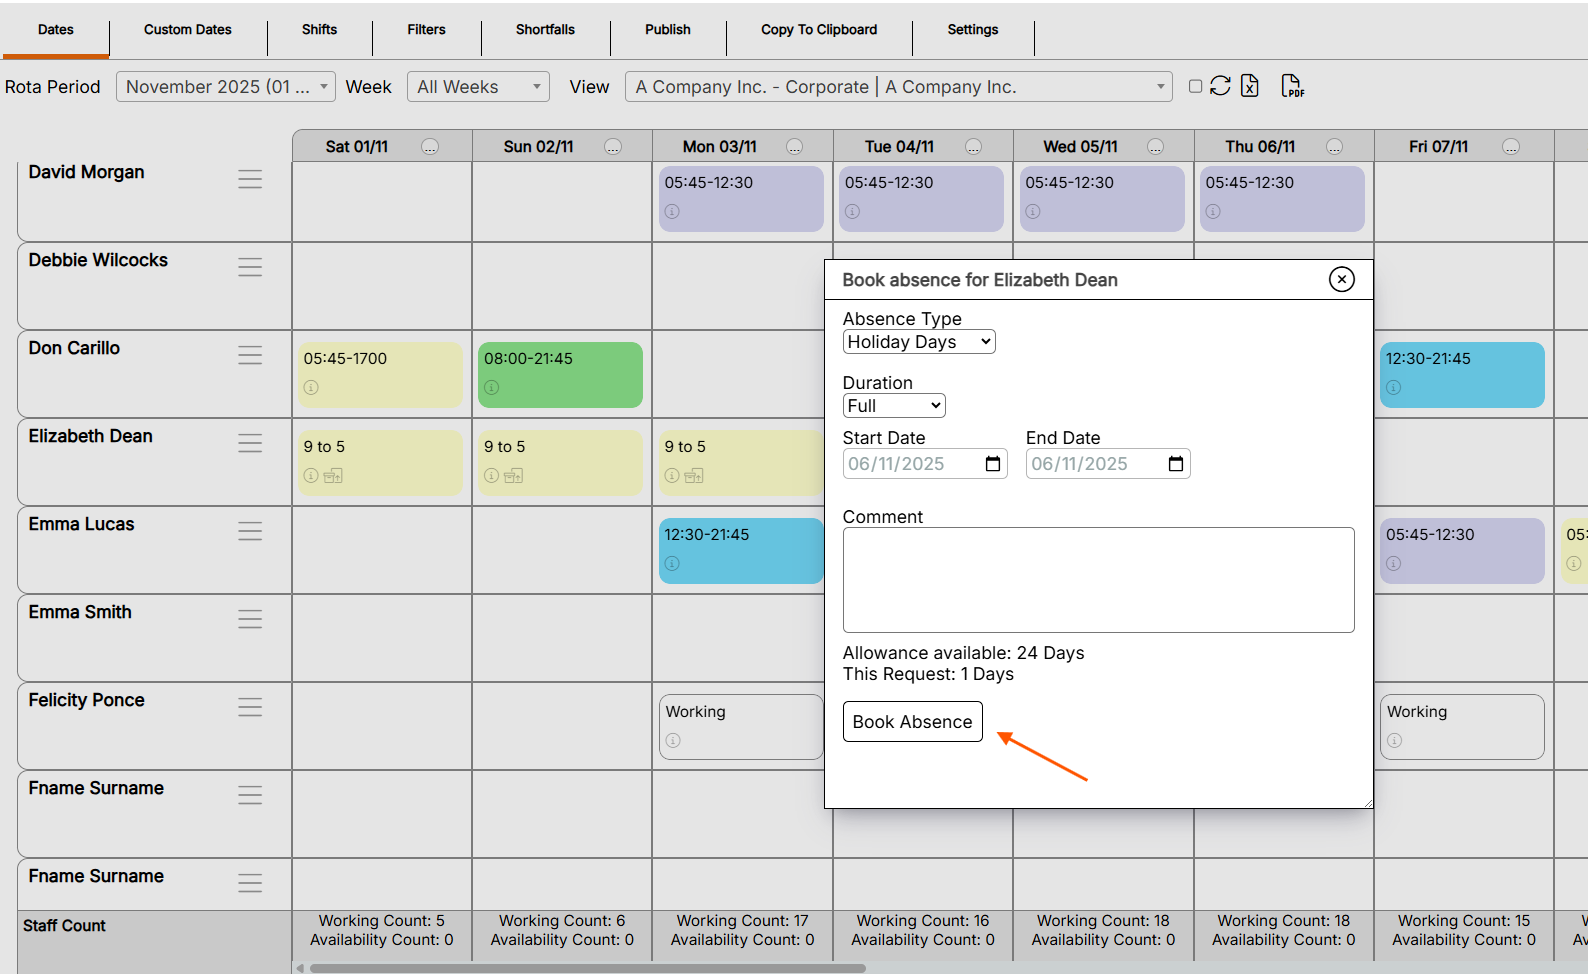
Select the type of absence to be booked and complete all the necessary information - In this example we have booked 1 days holiday for staff member Elizabeth Dean for the 6th November 2025
Click the book absence to save this information
NB if a half day is required the duration should be set to
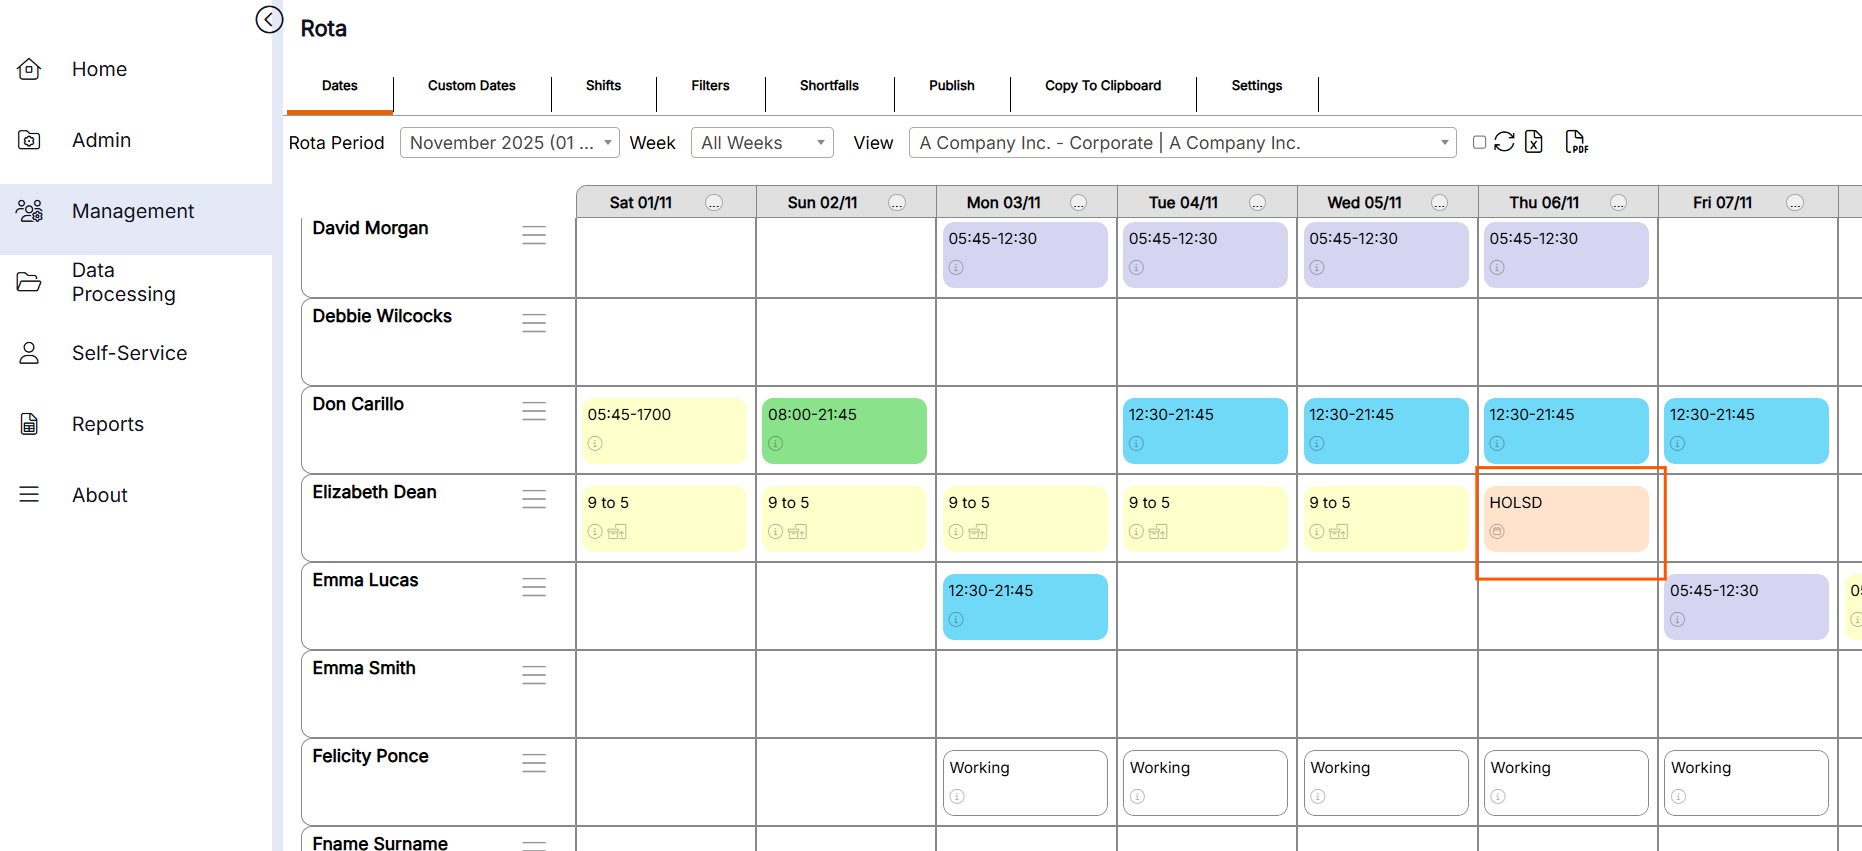
The holiday will now show on the rota.
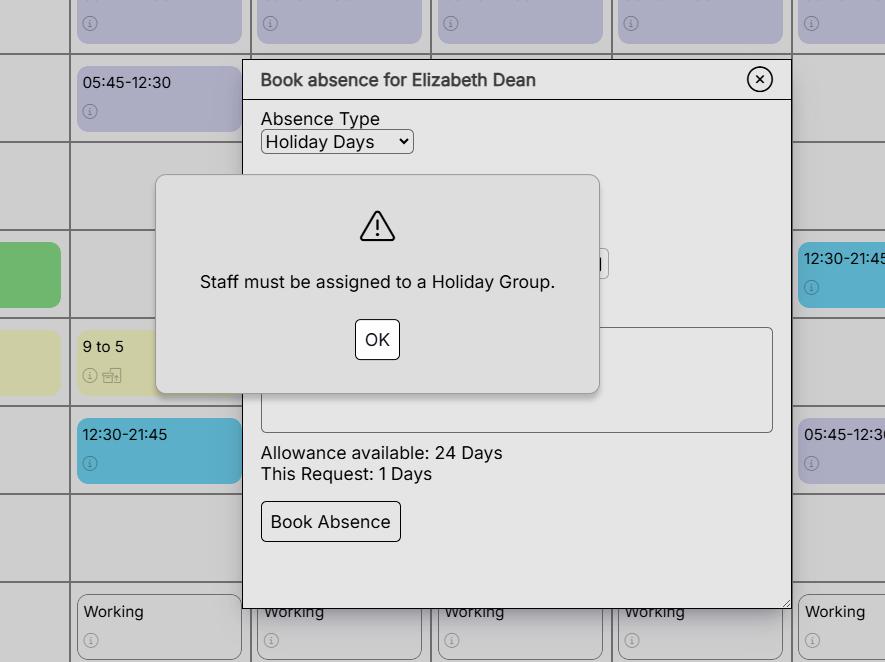
If this error message shows when clicking the Book Absence, it means the staff member has not been allocated to a holiday group. Follow the instructions below to correct this.
i) Press ok on the message and close the book absence screen.
ii) Go to Admin in the menu option
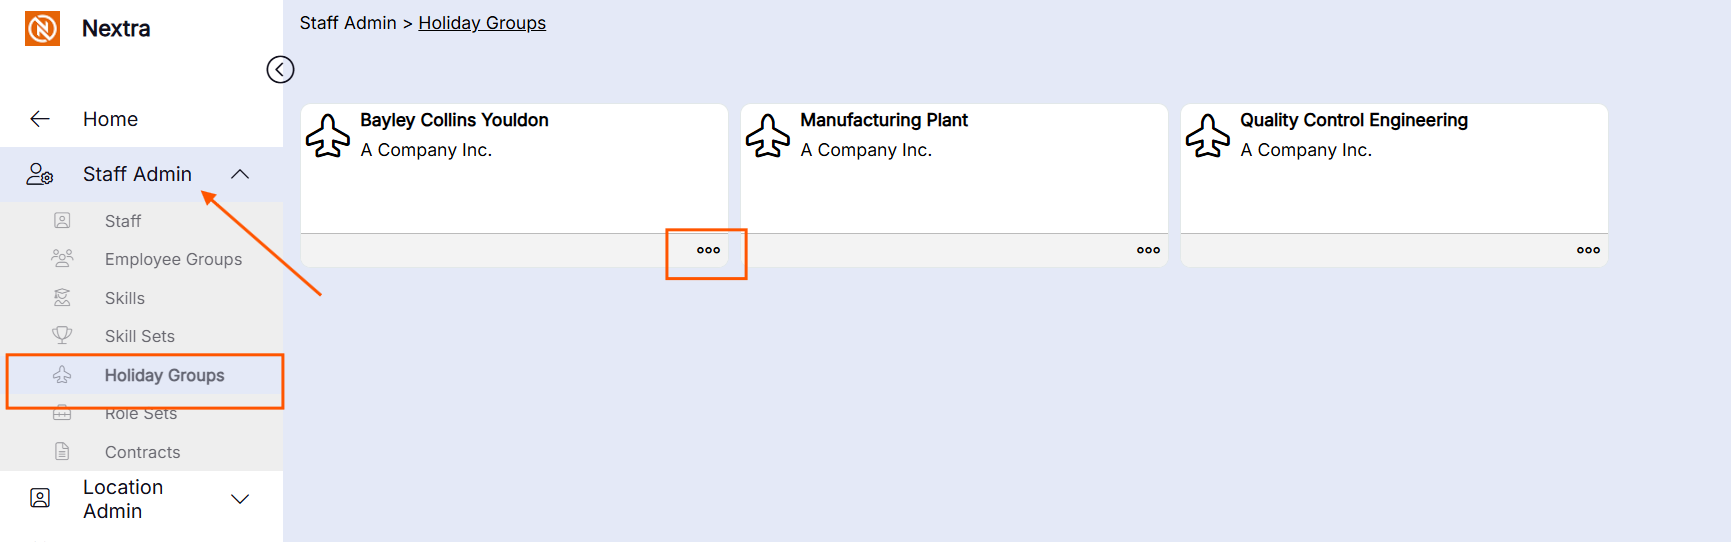
iii) Go to Staff Admin, then holiday groups, select on the 3 dots of the holiday group you wish to add the staff member too and click to open
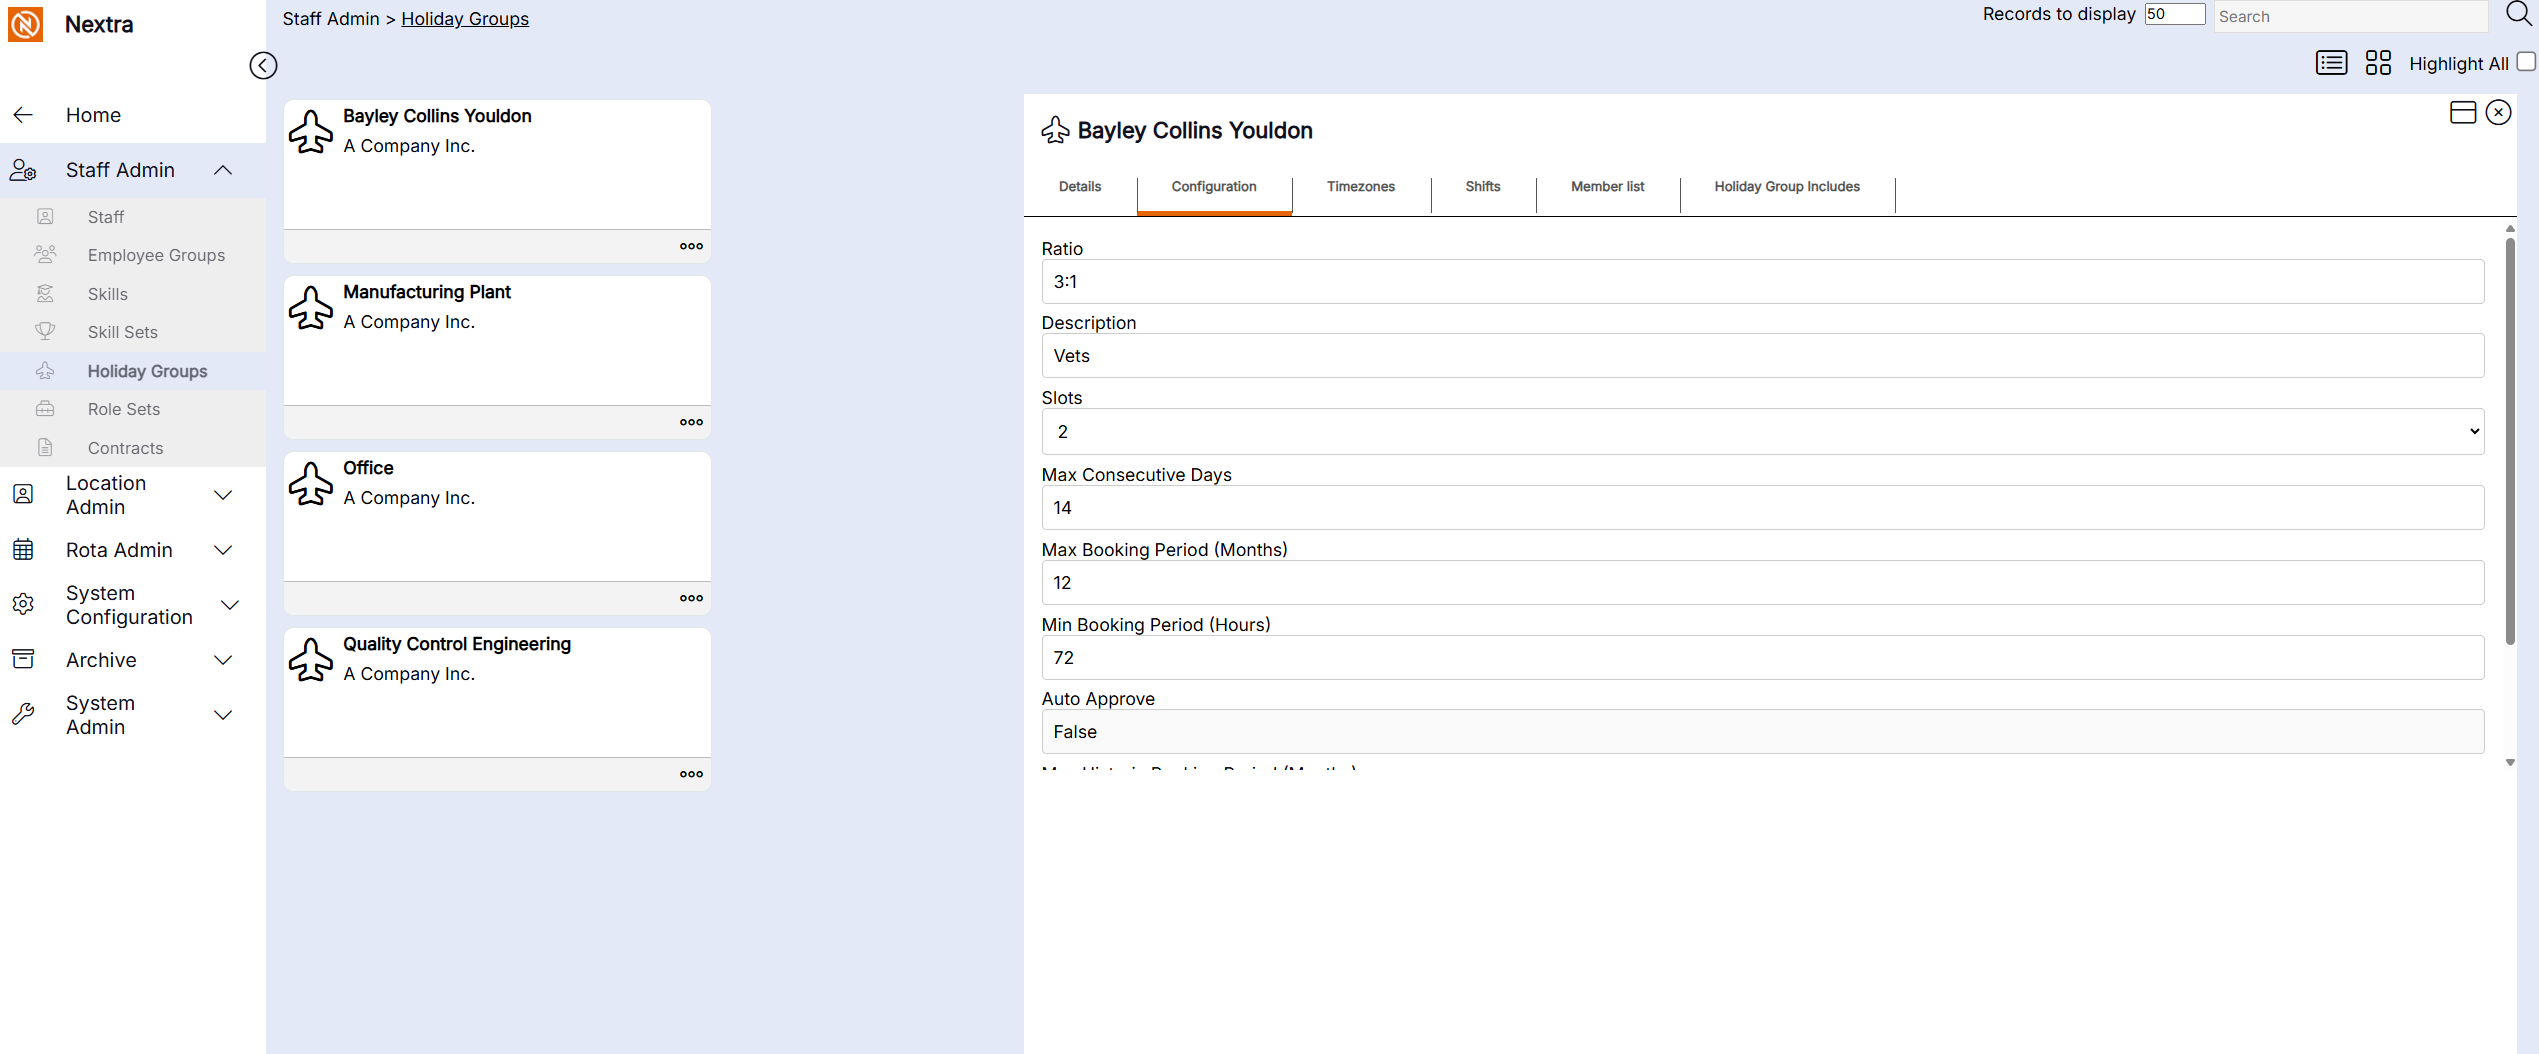
NB - Check that the Configuration Tab has been completed
'Click here for instructions on how to complete this'
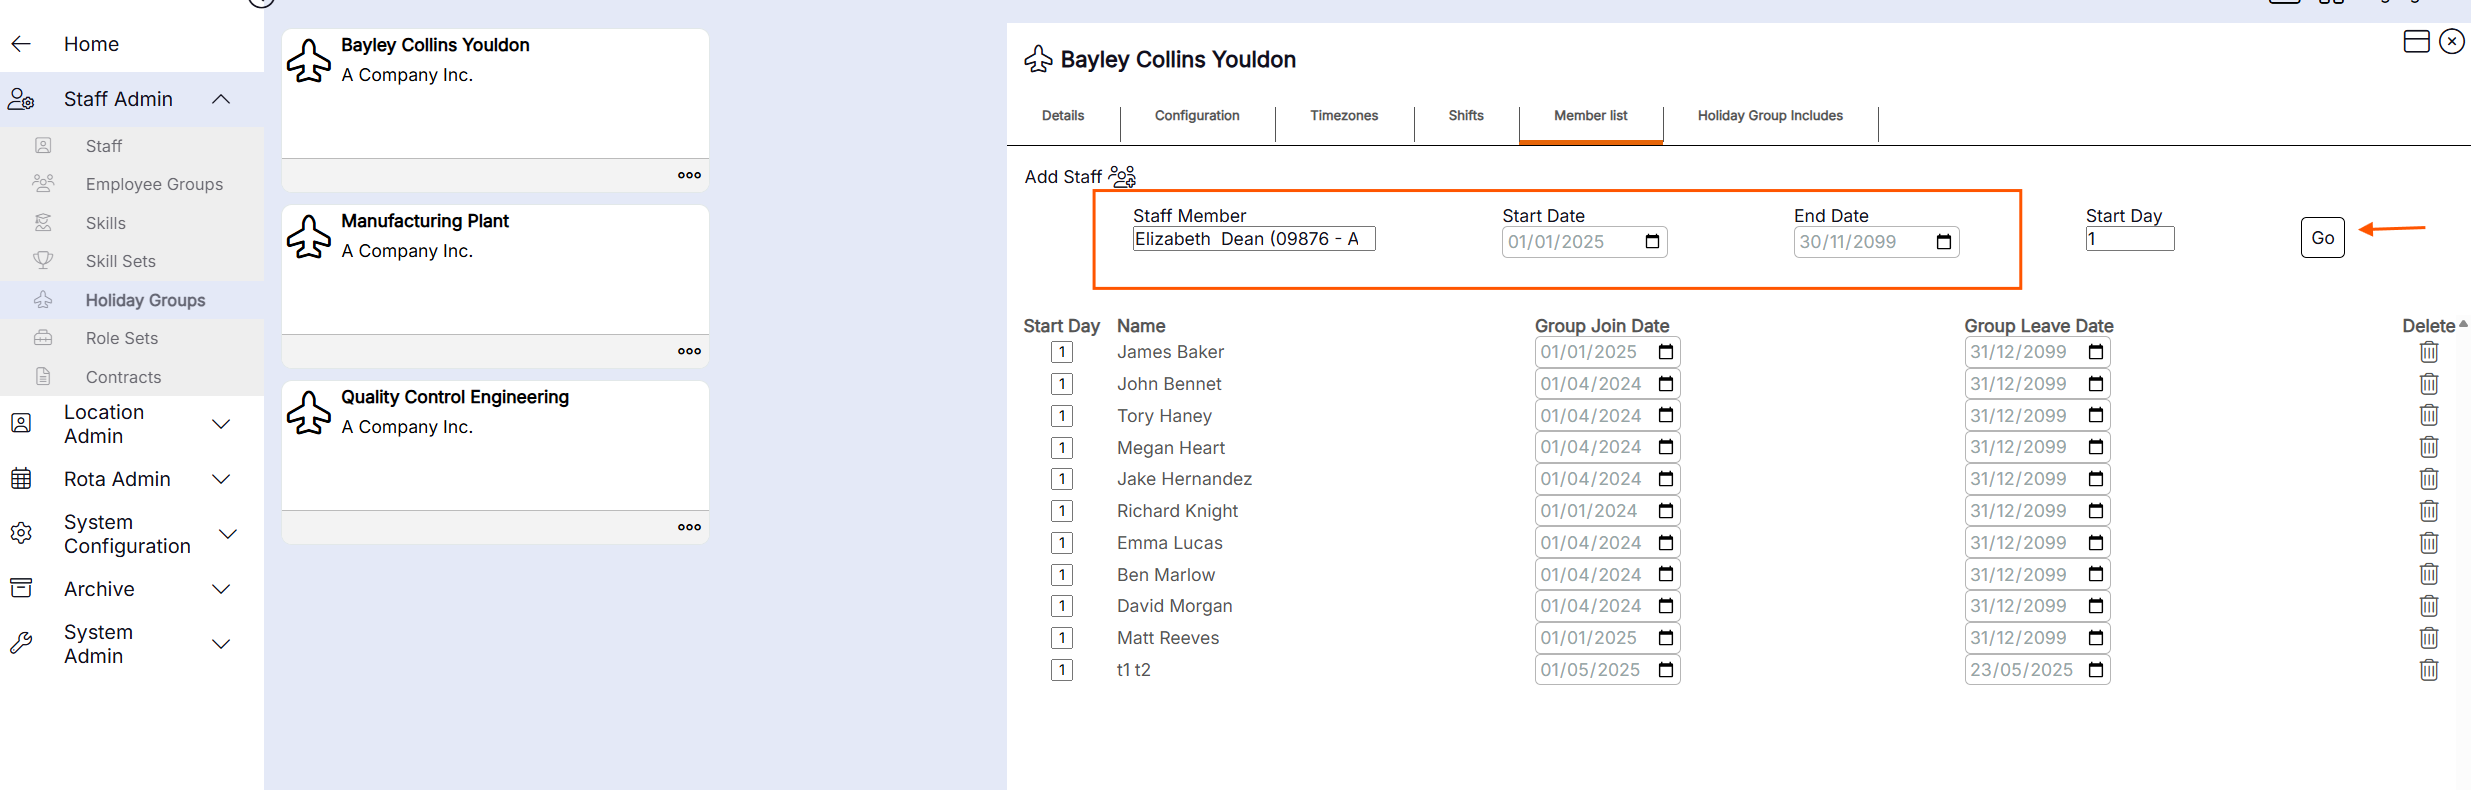
iv) Select the Member list tab and click the Add Staff
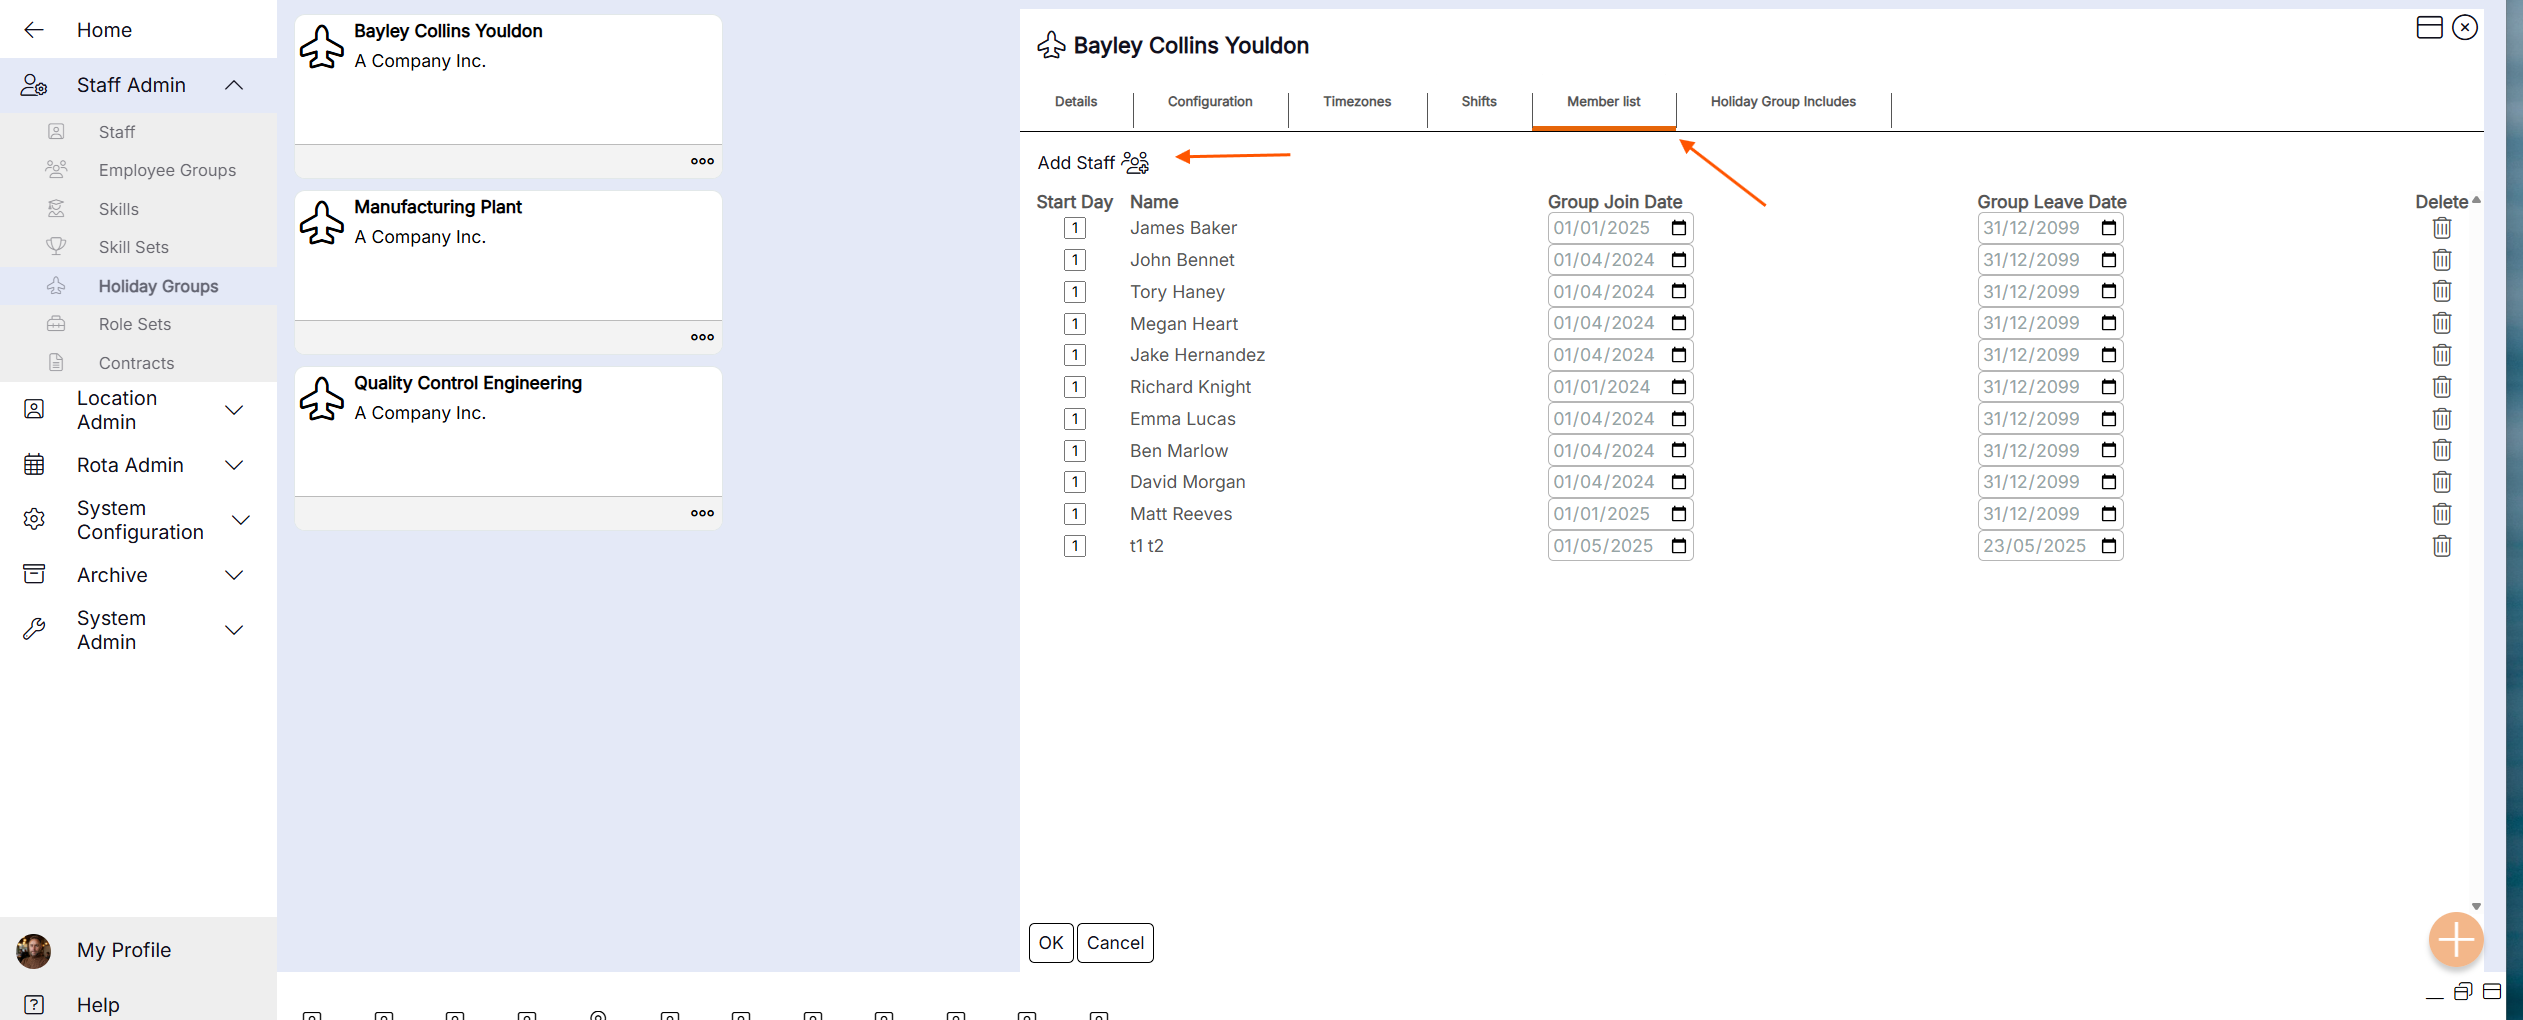
v) Enter the information in the highlighted area below and press Go - The staff member will now be allocated a holiday group and holiday can be be added.
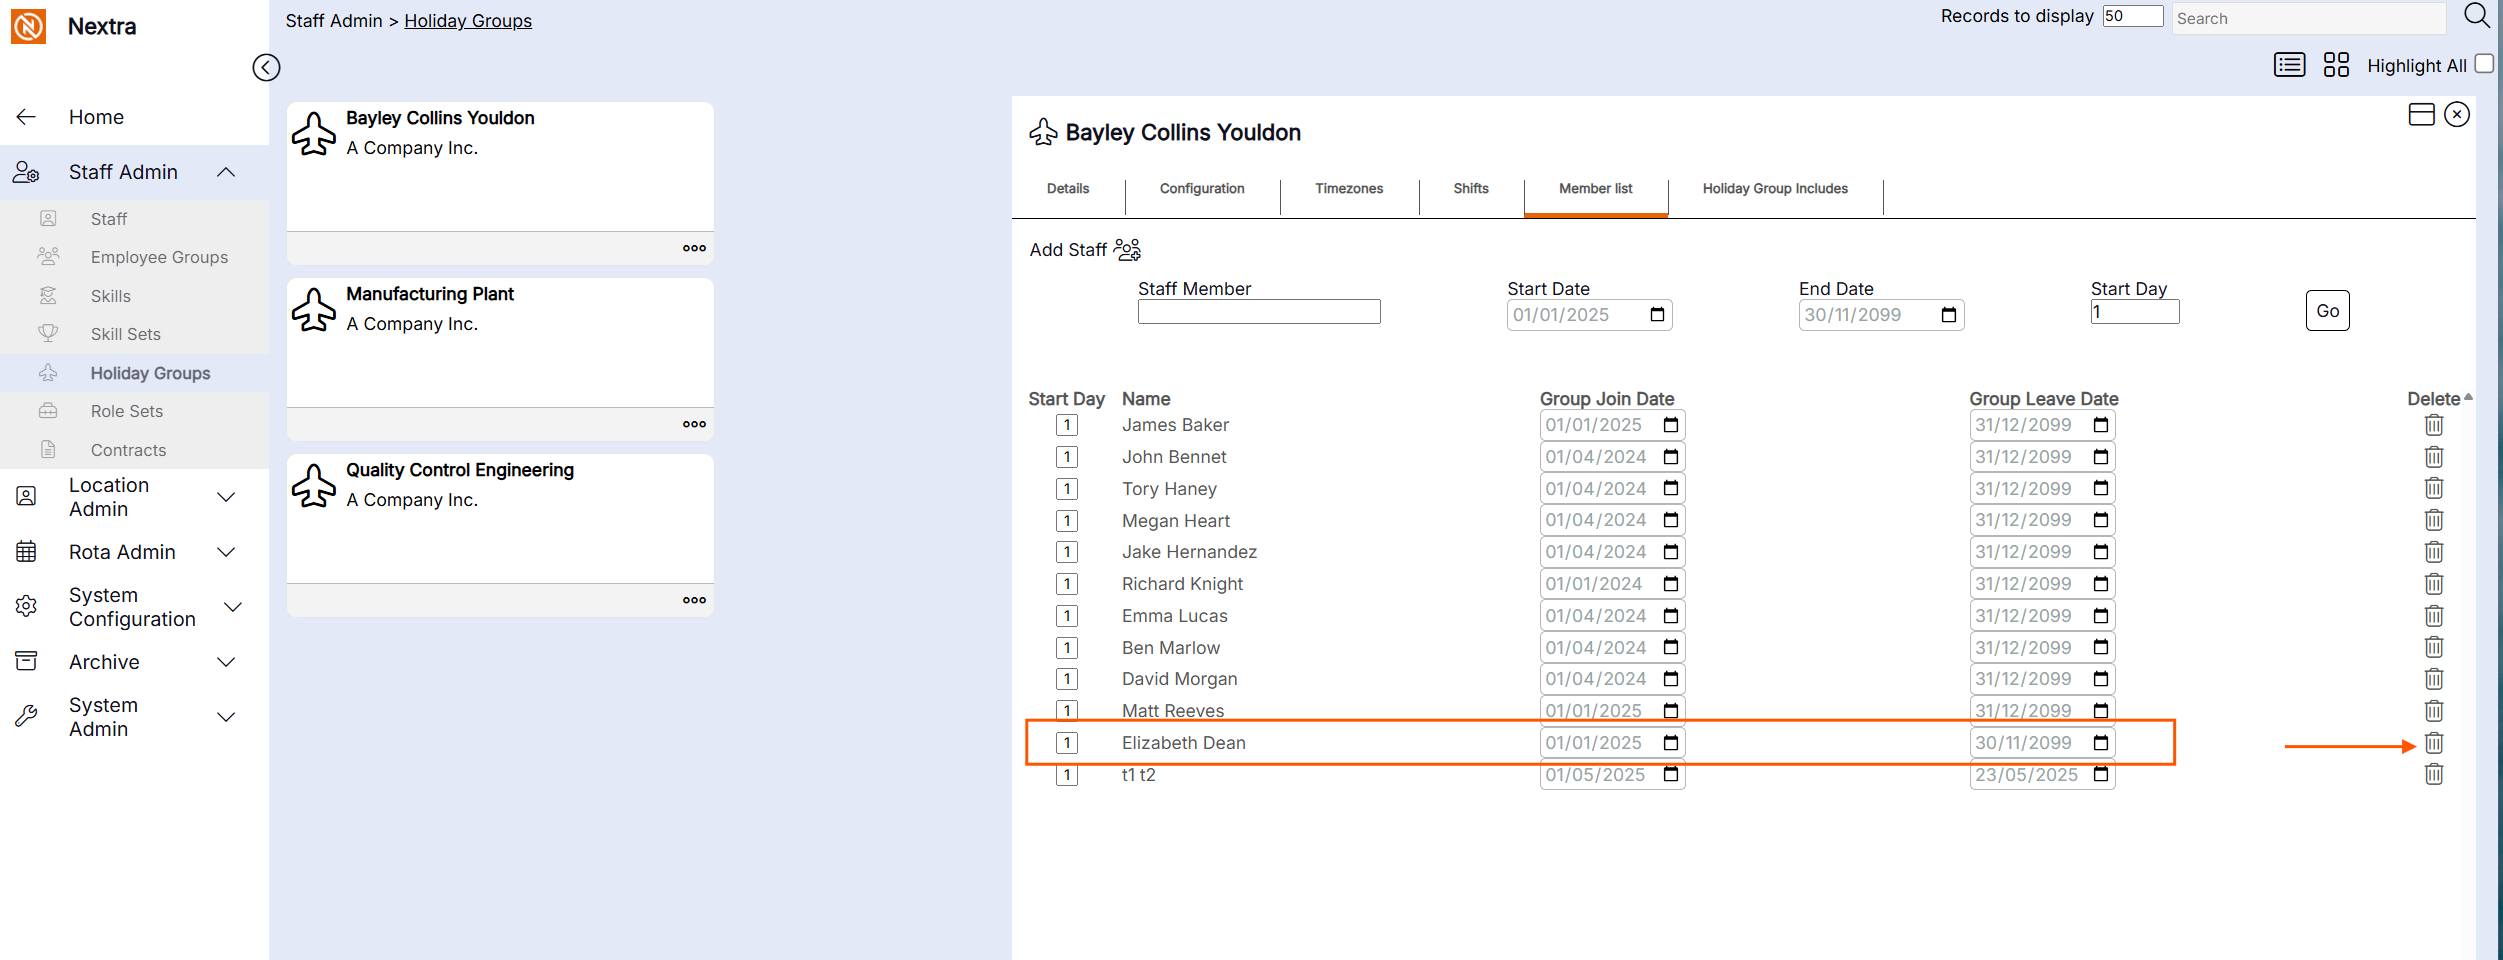
If the staff member needs to be removed from the holiday group - click the bin icon to remove the staff member.
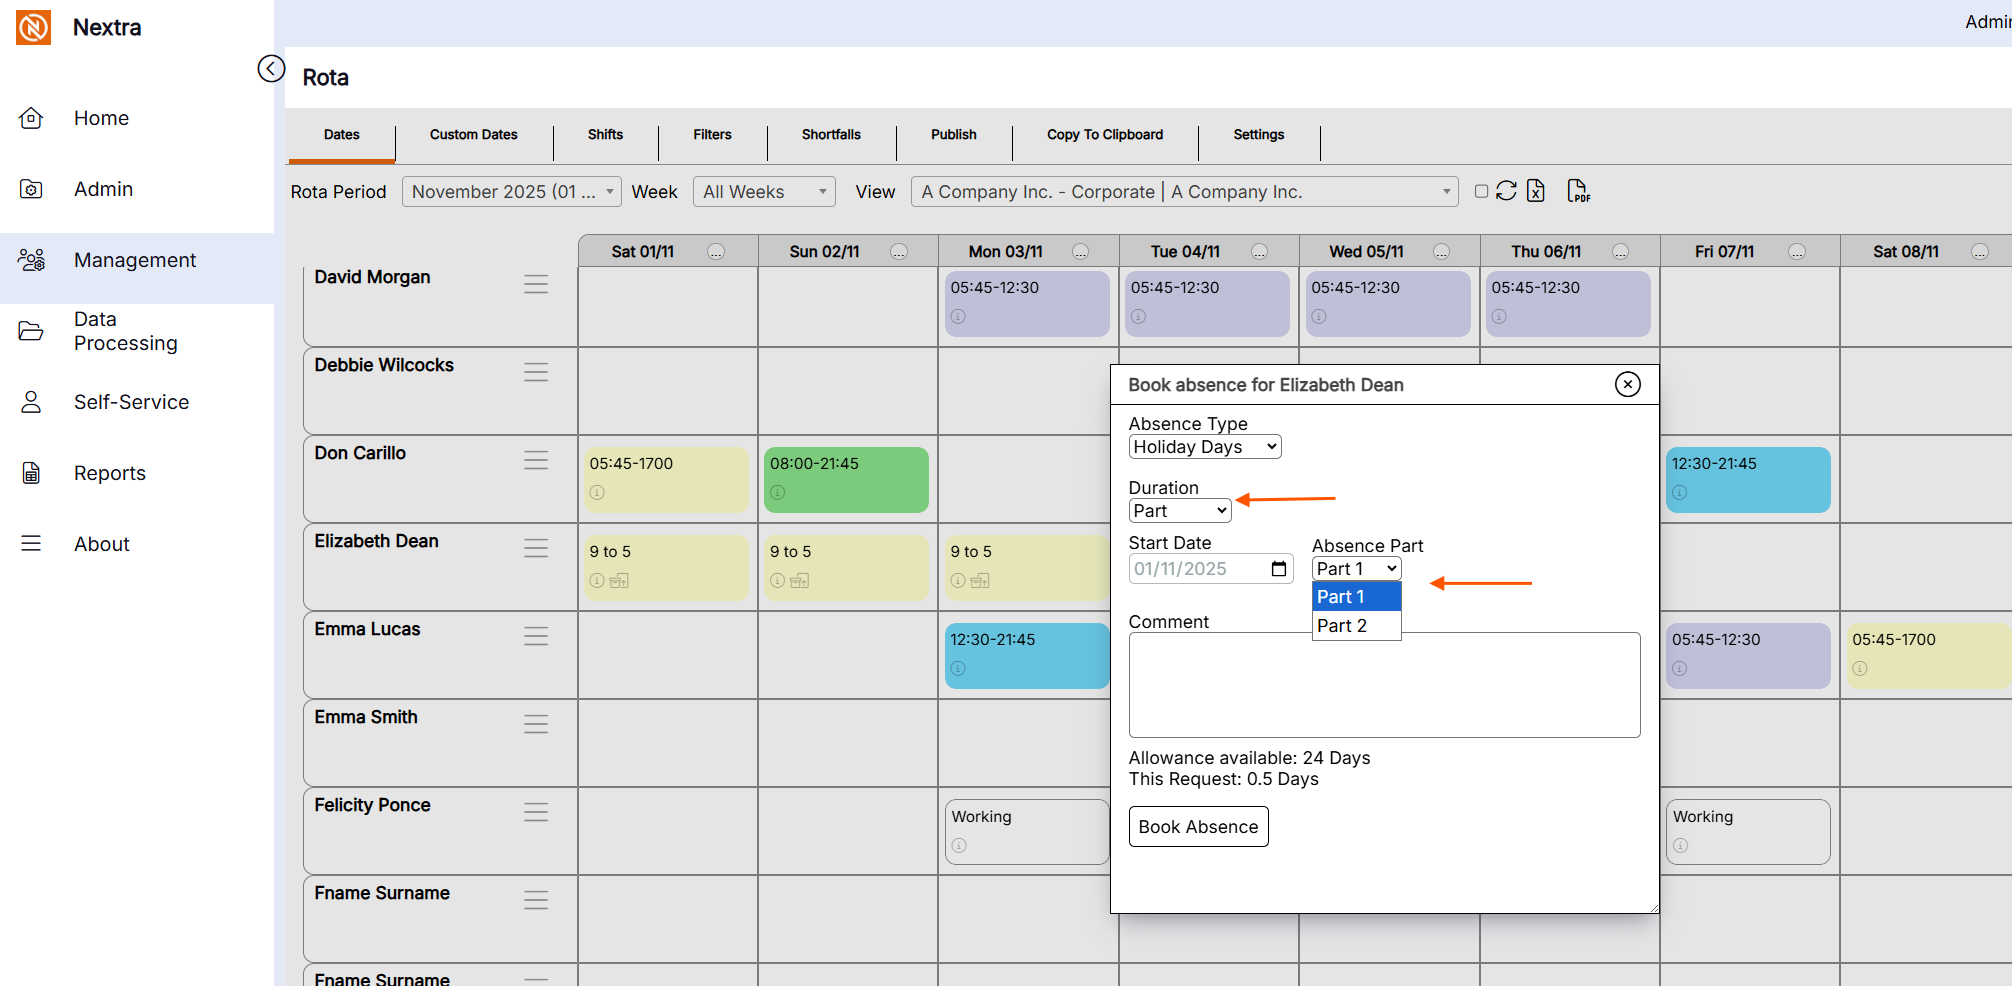
Booking a Part Day Absence
If a part day absence is required, select the absence type
The Duration should be selected as Part
Add the date
Add Absence - select with Part 1 if its the first half of a shift (i.e. on a 9am - 5pm shift this would be the morning.
Select Part 2 if its the second half of a shift (i.e on a 9am - 5pm shift this would be the afternoon)
Press ok to book absence

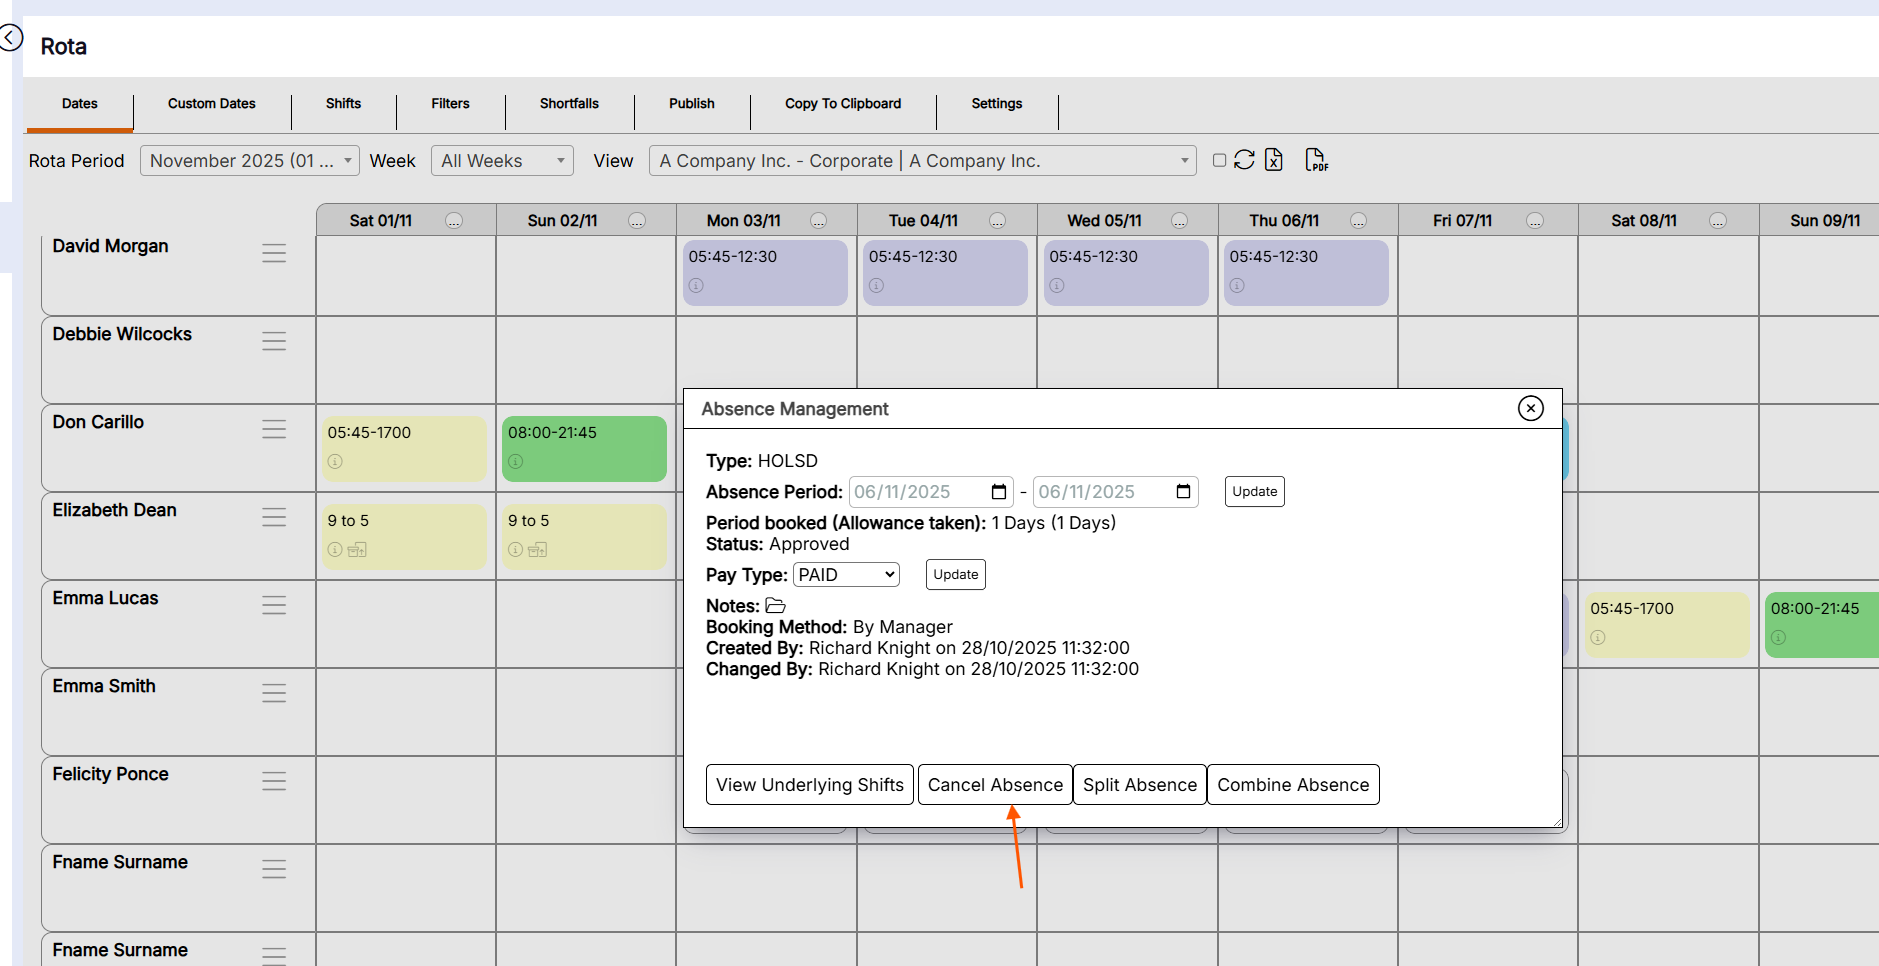
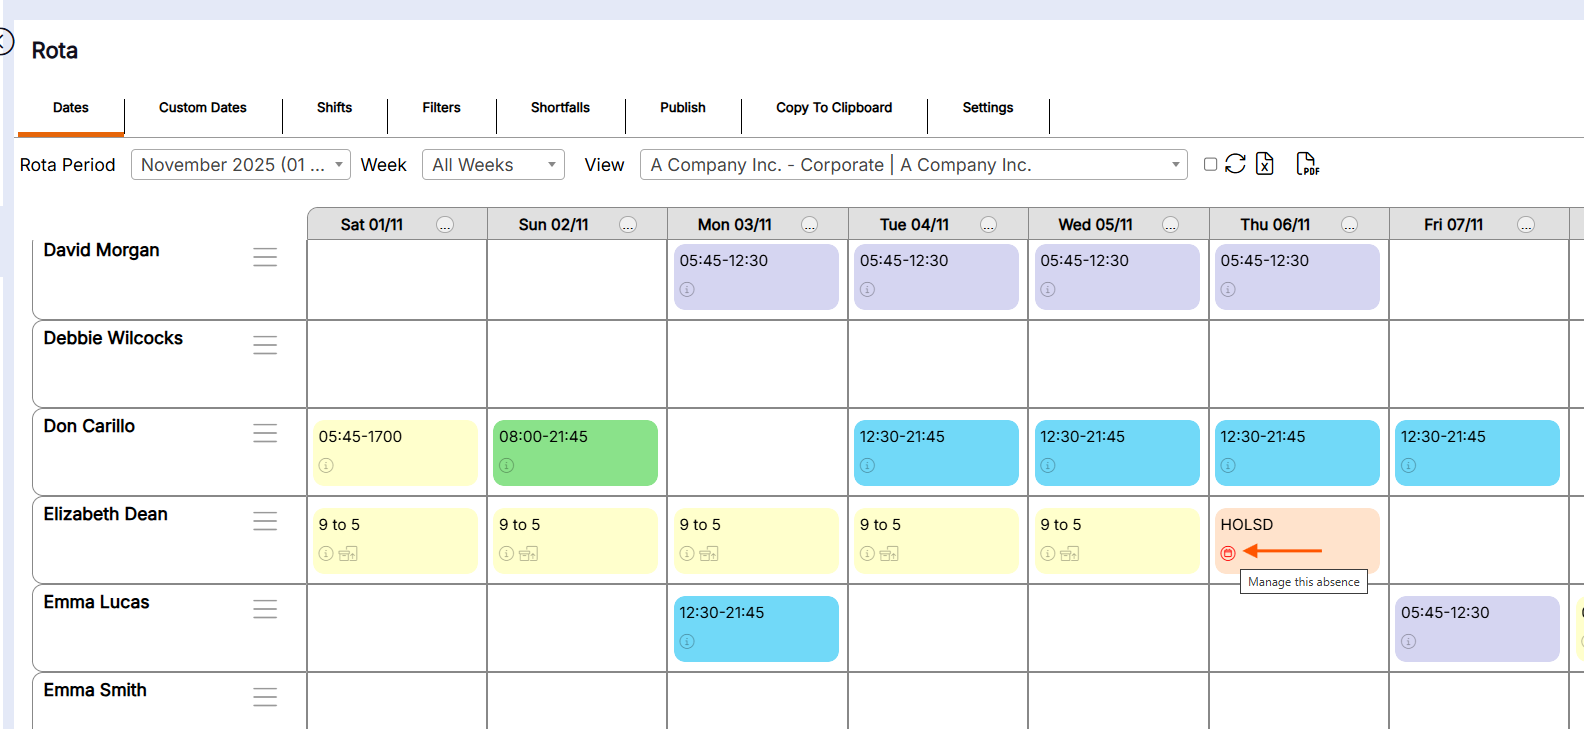
Cancelling an absence via the rota
If a holiday needs to be cancelled, this can be done via the 'Rota' Screen - The following instructions will guide you.
i) Click the manage this absence icon on the holiday you want to Manage.
ii) A pop up box will now open with the information on the absence so it can be cancelled by clicking the Cancel Absence Button